DIY Jewelry: 6 Simple Pieces and the Tools You Need
Handmade jewelry is one of the most rewarding crafts for beginners. The pieces are small, the supplies are cheap and a finished necklace or pair of earrings is ready to wear the same day. It’s also one of the best handmade gifts, because it’s personal without being bulky.
The six projects below need only a few basic tools. Start with one, and you’ll have most of what you need for the rest.
DIY Jewelry Starts With Three Tools
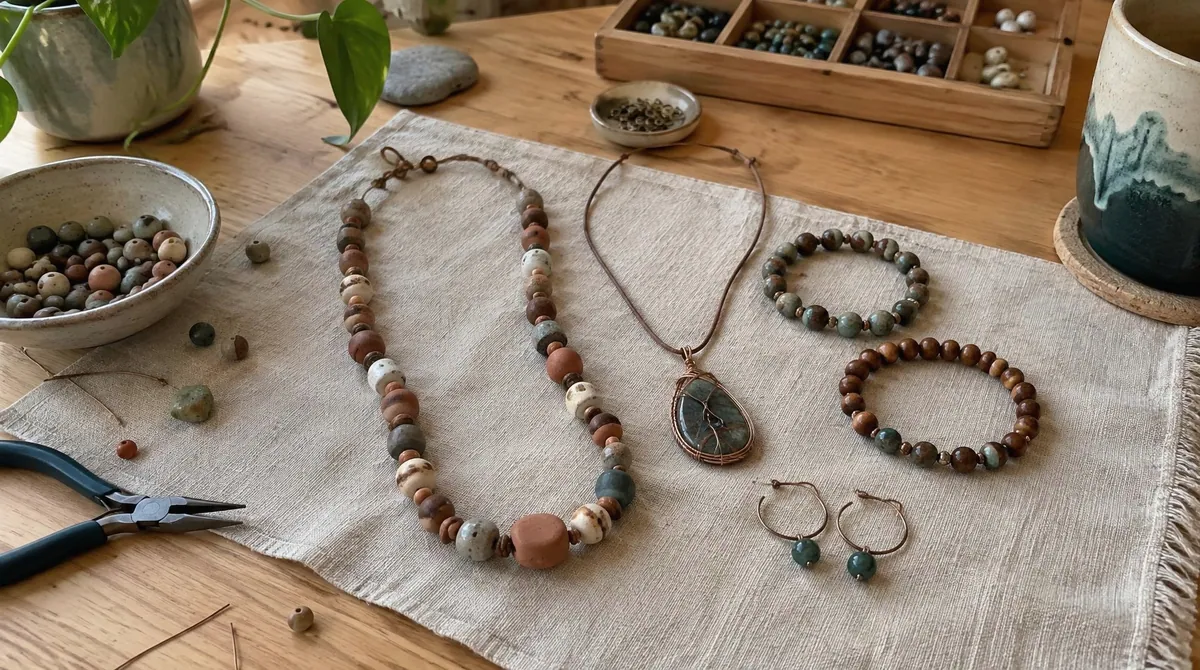
Almost every simple jewelry project uses the same three tools: round-nose pliers, flat-nose pliers and wire cutters. With those, plus jump rings, clasps and ear wires, you can make most of the pieces below. A bead tray or a shallow dish keeps small parts from rolling away.
1. Clay bead necklaces
Time: 1 hour, plus a day of drying. Rough cost: $5 to $10.
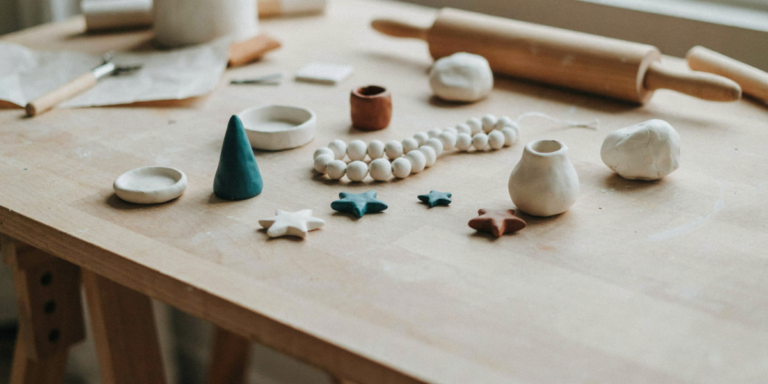
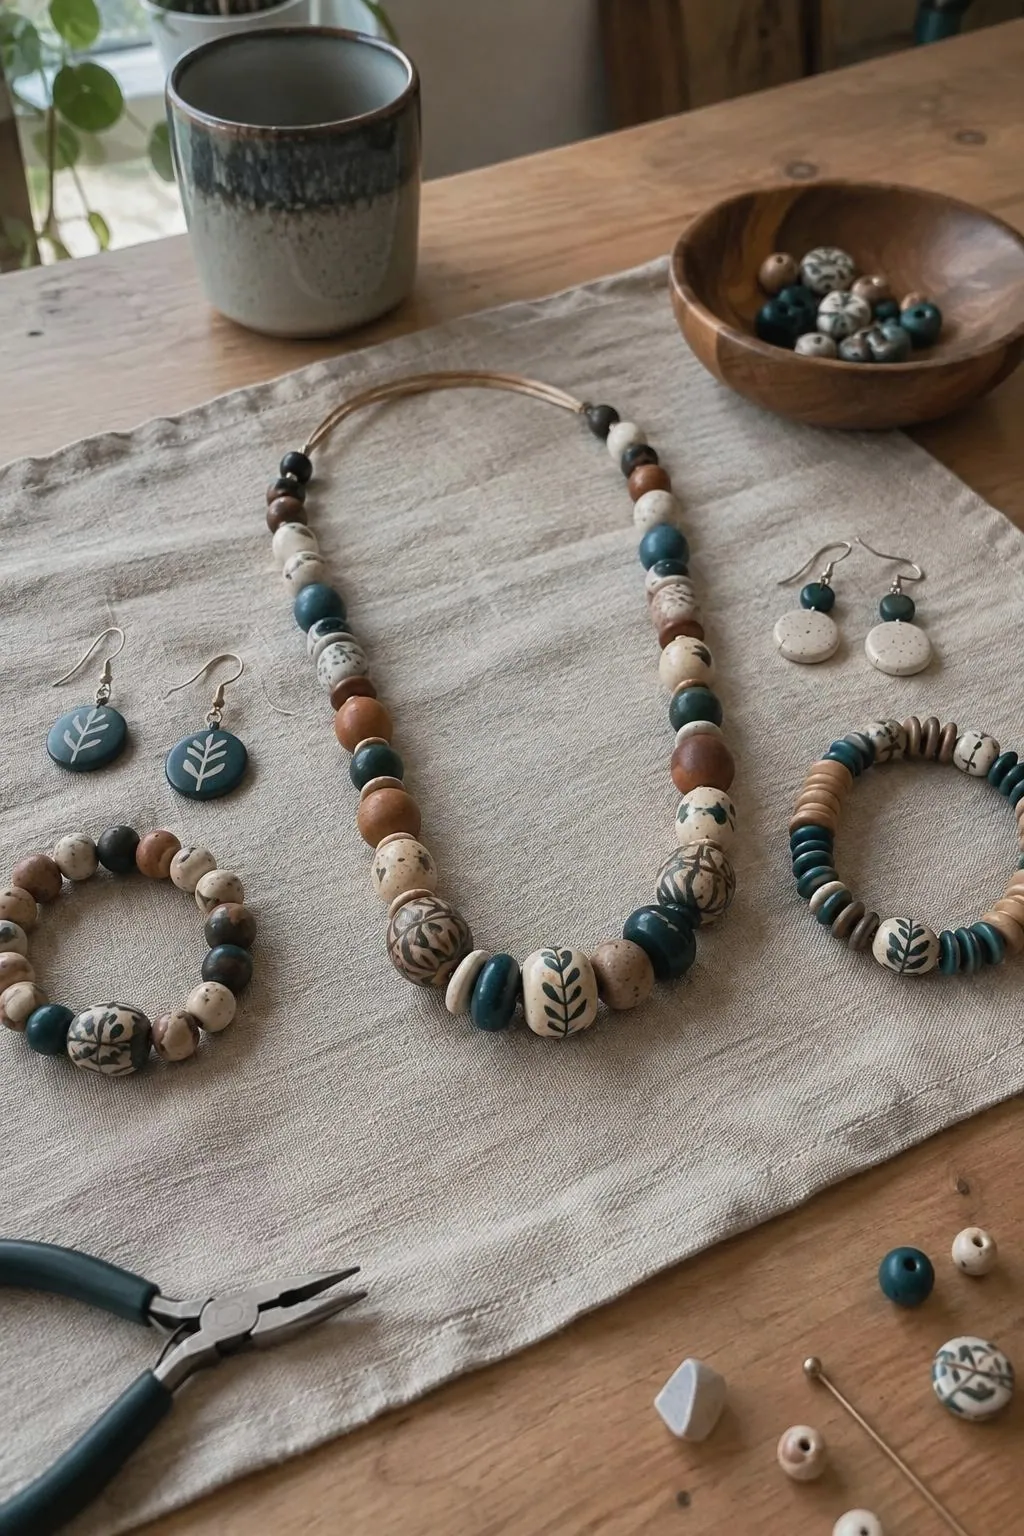
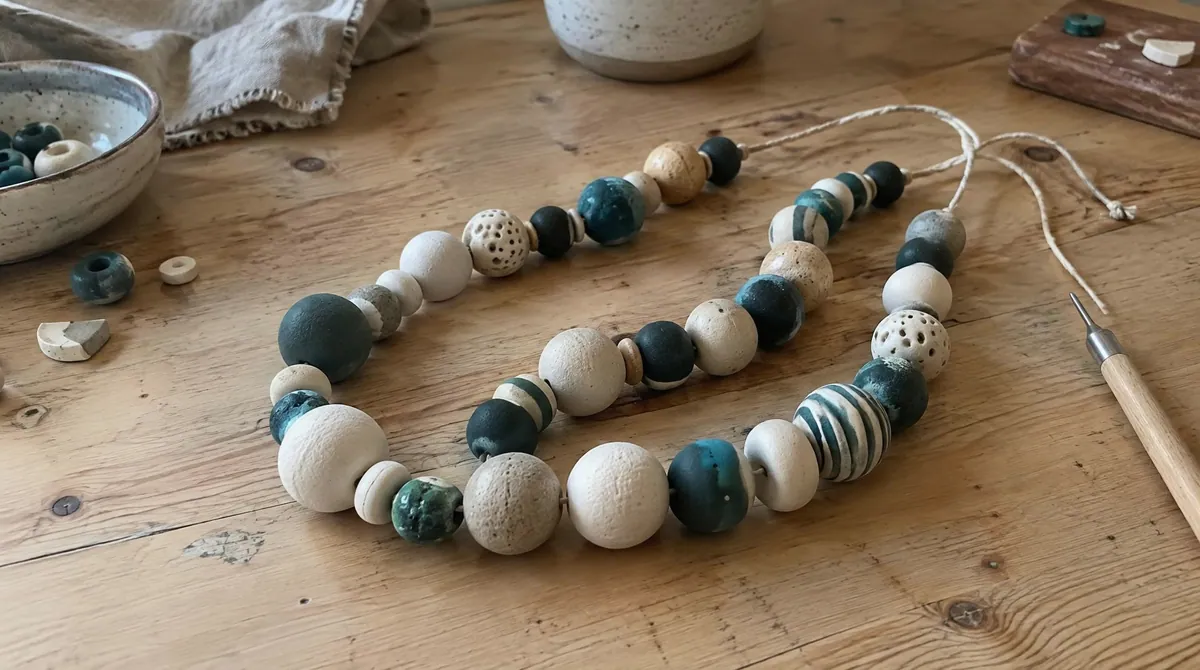
Roll small balls of air dry clay between your palms, pierce each one with a toothpick and let them dry fully. Paint a few in one accent color, seal them with a matte varnish and string them on cotton cord with a simple sliding knot.
Air dry clay beads aren’t waterproof, so take them off before washing your hands or swimming. Our air dry clay crafts guide has more about working with clay.
2. Polymer clay earrings

Time: 2 hours. Rough cost: $15 to $20 for clay and findings.
Roll polymer clay flat, cut shapes with small cutters or a craft knife, and pierce a hole for the jump ring. Bake according to the clay’s package instructions, usually at a low oven temperature. Once cool, sand the edges, then attach jump rings and ear wires.
Bake on a dedicated tray or on parchment paper, not on a tray you use for food. Ventilate the kitchen while baking.
3. Wire-wrapped stone pendants
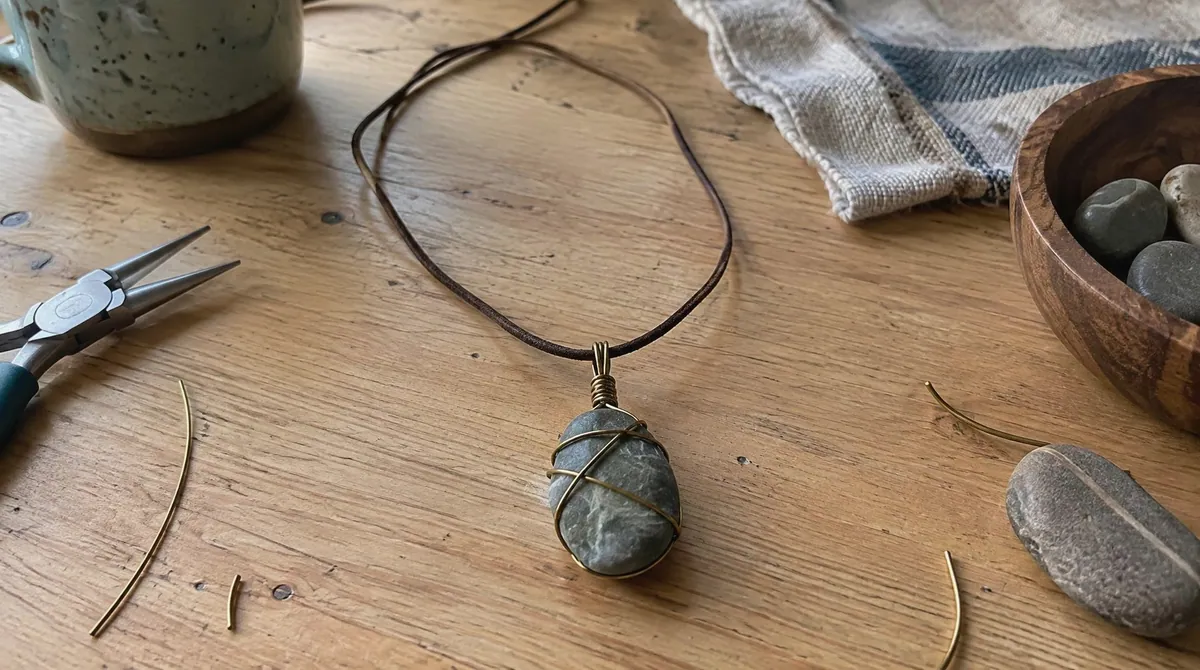
Time: 30 minutes. Rough cost: $5 to $10 for wire.
Wrap soft brass or copper jewelry wire around a smooth stone, crossing it a few times so the stone is held securely. Twist a small loop at the top for the cord. Hang on a leather or cotton cord.
20 or 22 gauge wire is easy to bend and strong enough to hold a small stone.
4. Seed bead bracelets
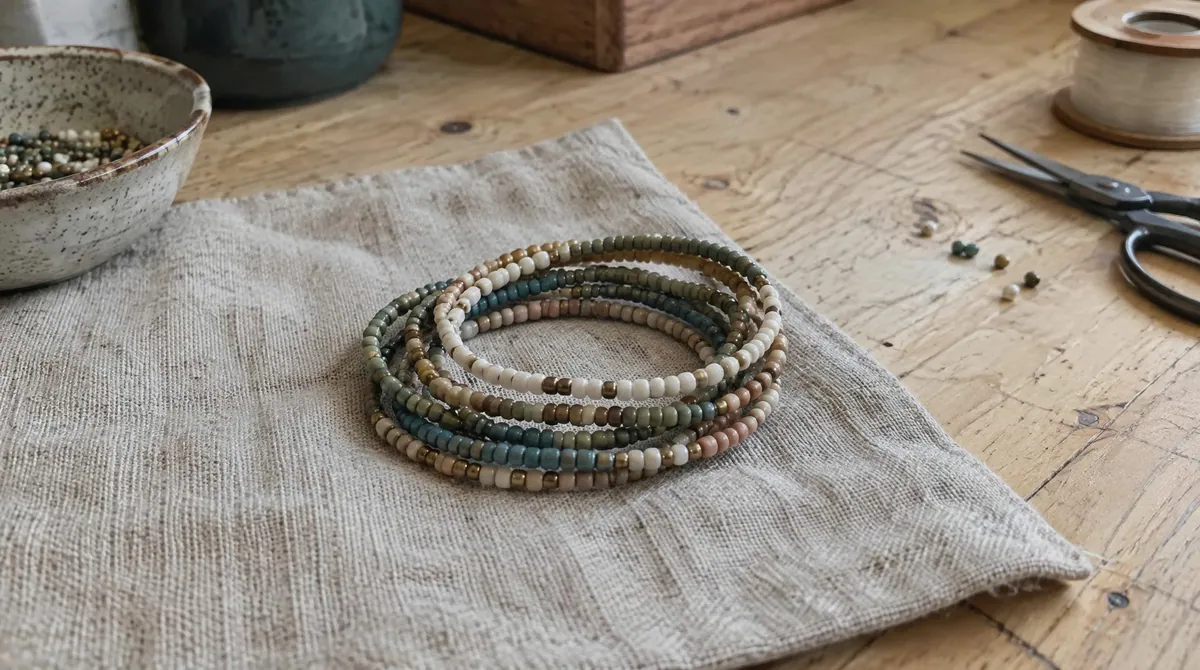
Time: 20 minutes each. Rough cost: $5 to $10.
Thread seed beads onto clear stretch cord, measuring the length against your wrist. Pre-stretch the cord first so it doesn’t loosen later. Tie a surgeon’s knot, add a drop of glue and hide the knot inside a larger bead.
Muted colors and one accent bead look better than a rainbow mix. Make several and wear them stacked.
5. Pressed flower resin pendants
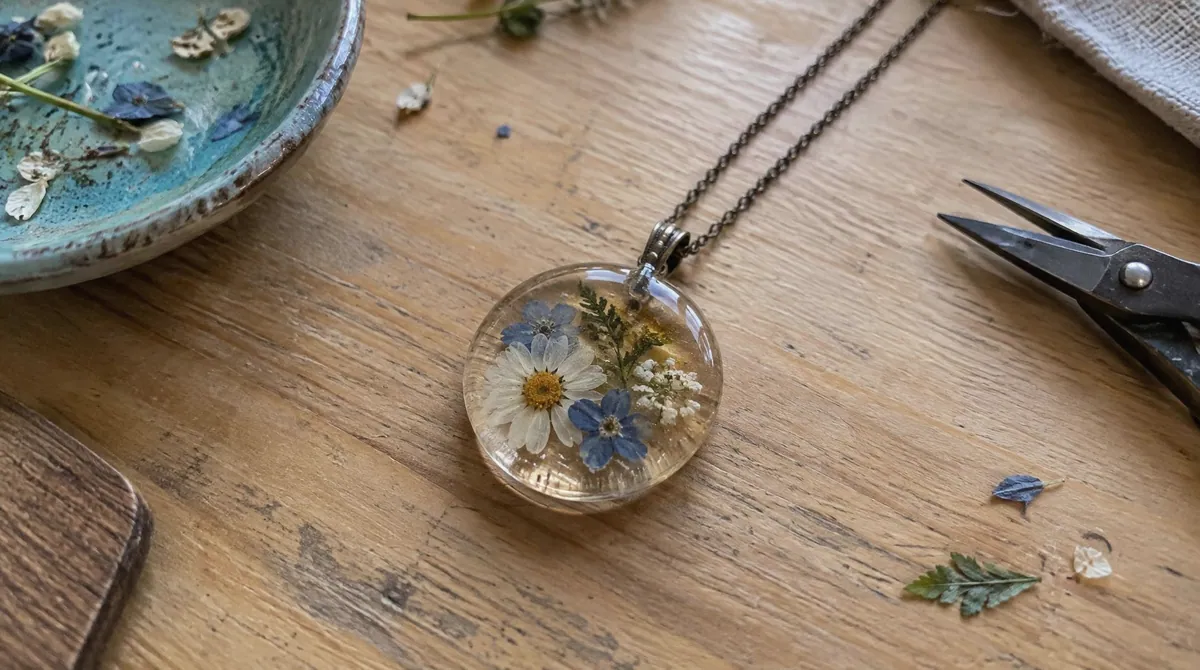
Time: 1 hour, plus curing time. Rough cost: $20 to $30 for resin and molds.
Place tiny pressed flowers in a silicone pendant mold, pour mixed epoxy or UV resin over them and let it cure according to the instructions. Pop out the pendant, sand any rough edges and attach a bail.
Resin needs care: work in a well-ventilated space, wear gloves and follow the safety instructions on the product exactly.
6. Simple hoop earrings
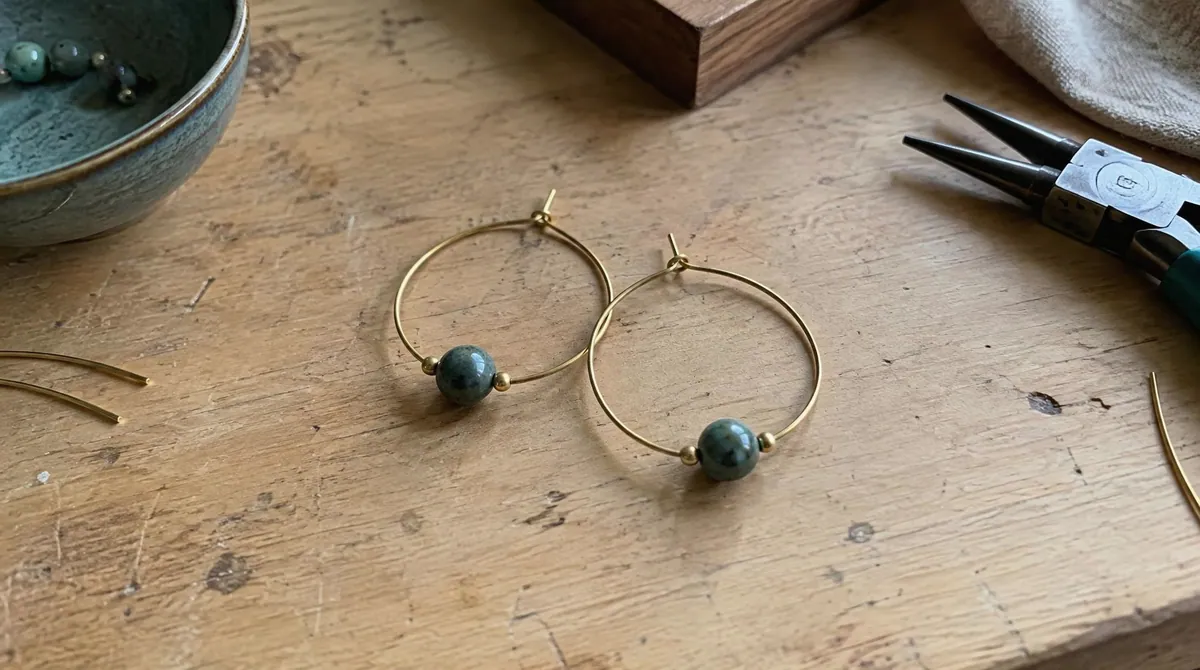
Time: 20 minutes. Rough cost: $5.
Wrap brass or sterling silver wire around a round object, like a marker or a jewelry mandrel, to form a circle. Cut it, add a bead, and bend a small hook at one end and a loop at the other so they close.
Use hypoallergenic metals like sterling silver, gold-filled or niobium if your ears are sensitive.
7. Tools you need
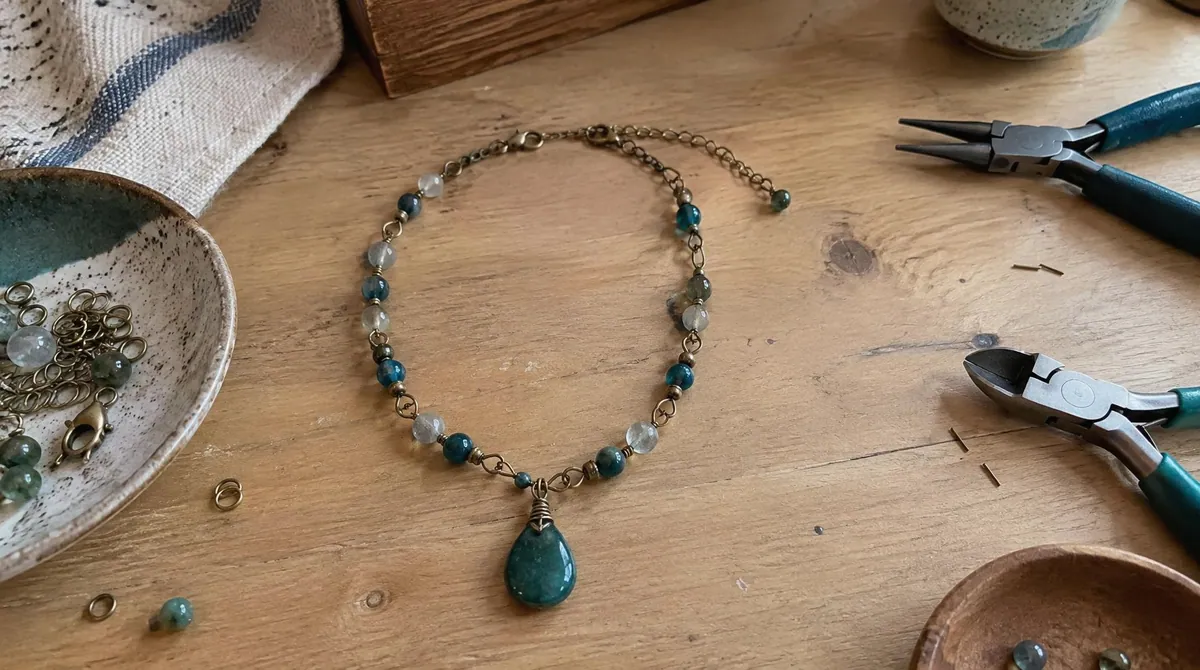
| Tool | Used for |
|---|---|
| Round-nose pliers | Loops and curves |
| Flat-nose pliers | Opening jump rings, gripping |
| Wire cutters | Cutting wire and pins |
| Jump rings, clasps, ear wires | Assembly |
| Bead tray | Keeping parts together |
A basic jewelry tool set usually costs $15 to $25.
8. Store it so it doesn’t tangle

Hang necklaces on small hooks so the chains don’t knot. Keep earrings in pairs on a card or in a divided box. Store pieces with resin or polymer clay away from direct sunlight.
Small zip bags with a bit of anti-tarnish paper help keep brass and silver from darkening.
Which Project to Try First
| Project | Difficulty | Special supplies |
|---|---|---|
| Seed bead bracelet | Very easy | Stretch cord |
| Clay bead necklace | Easy | Air dry clay |
| Wire-wrapped stone | Easy | Jewelry wire |
| Simple hoops | Easy | Wire, mandrel |
| Polymer clay earrings | Medium | Polymer clay, oven |
| Resin pendants | Medium | Resin, molds, ventilation |
What We Would Skip
Cheap mixed bead packs in bright colors. A few colors you’d actually wear go further.
Resin projects as a first project. Try them once you’re comfortable with the basics.
Jewelry for small children with small beads. They’re a choking hazard.
Where We Would Start
A seed bead bracelet and a wire-wrapped stone pendant. Both take under half an hour, and the wire and pliers carry over to the next projects. Handmade jewelry also makes a good addition to a DIY gift set, and if you’d like to sell what you make, see our crafts to sell.
Questions We Get Asked
What do I need to start making jewelry?
Round-nose pliers, flat-nose pliers, wire cutters, jump rings, clasps and ear wires. Add beads, wire or clay depending on the project.
What is the easiest DIY jewelry for beginners?
Seed bead stretch bracelets. They need no clasp and no special tools.
Is polymer clay jewelry safe?
Yes, when baked according to the package instructions. Bake on parchment or a dedicated tray and ventilate the kitchen.
Can air dry clay be used for jewelry?
Yes, for beads and pendants, but it isn’t waterproof. Seal it and keep it away from water.
What metal is best for sensitive ears?
Sterling silver, gold-filled, niobium and titanium are usually best tolerated.
How do I keep handmade jewelry from tangling?
Hang necklaces on individual hooks and keep earrings in pairs in a divided box or on cards.