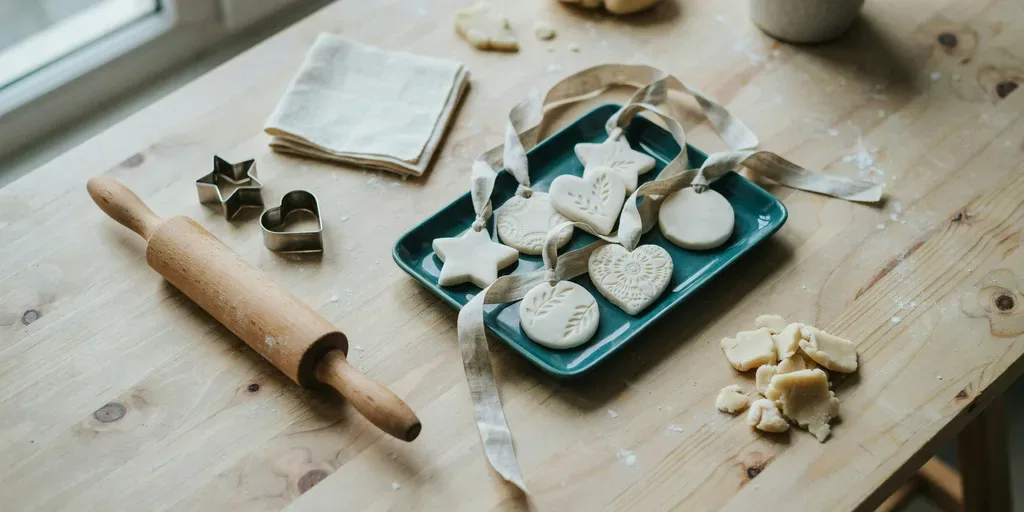
Salt Dough Ornaments That Don’t Puff, Crack or Go Soft
Salt dough is three pantry ingredients and an oven, and it’s still one of the best ornaments you can make. The results either look like they came from a nice shop or like a lumpy school project, and the difference has nothing to do with skill. It comes down to three things: rolling evenly, baking low enough, and sealing at the end.
This is the full process, step by step, with the reason behind each step.
Salt Dough Ornaments Need Three Ingredients and Patience
The recipe: 2 cups of all-purpose flour, 1 cup of fine table salt and about 3/4 cup of warm water. That makes roughly 20 to 30 ornaments, depending on size.
Time: about 45 minutes of work, 2 to 3 hours in the oven, plus an hour for painting and sealing.
Cost: a few dollars, plus ribbon and varnish.
Fine salt dissolves better than coarse salt and gives a smoother surface. Don’t use self-rising flour; the leavening makes the ornaments puff.
1. What you need
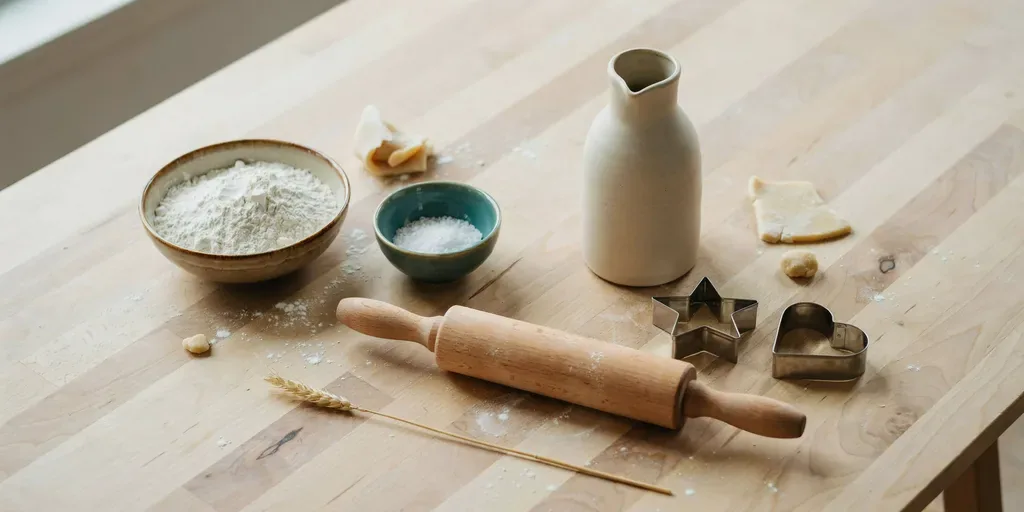
Flour, fine salt, warm water, a mixing bowl, a rolling pin, cookie cutters, a drinking straw or skewer, parchment paper and a baking sheet. For finishing: acrylic paint if you want color, a clear matte or satin varnish, and ribbon or twine.
Optional: a piece of lace, fresh leaves or a rubber stamp for textures.
2. Mix and knead
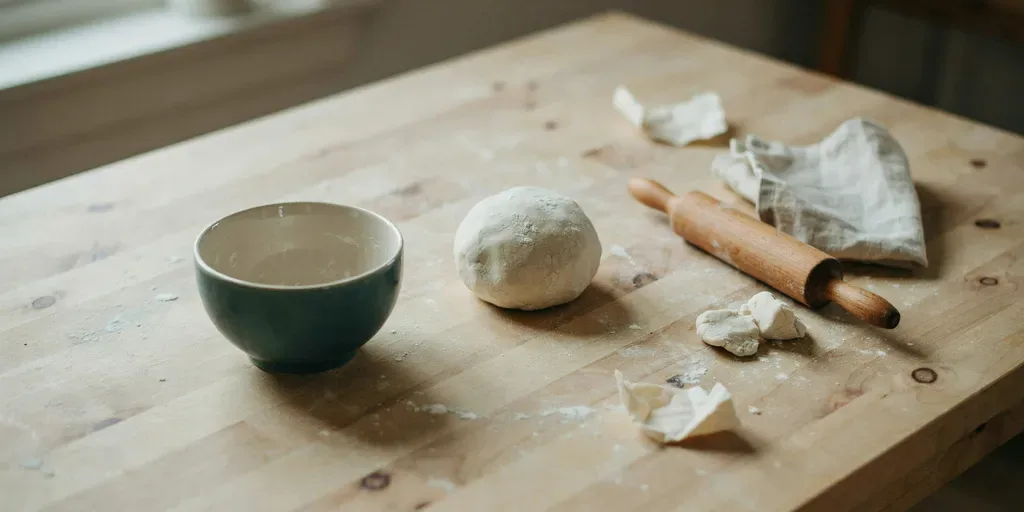
Mix the flour and salt, then add the water a little at a time while stirring. Knead for 5 to 10 minutes until smooth and firm. It should feel like play dough. If it sticks to your hands, add a spoonful of flour; if it cracks, add a few drops of water.
Kneading long enough is what gives a smooth surface without cracks.
3. Roll and cut

Roll the dough on parchment to about a quarter inch thick. Even thickness matters more than the exact number. Thin spots burn, thick spots stay soft in the middle. Two wooden spoons laid on either side of the dough as rails help you roll evenly.
Cut shapes with cookie cutters and lift away the excess dough rather than lifting the shapes.
4. Press in a texture
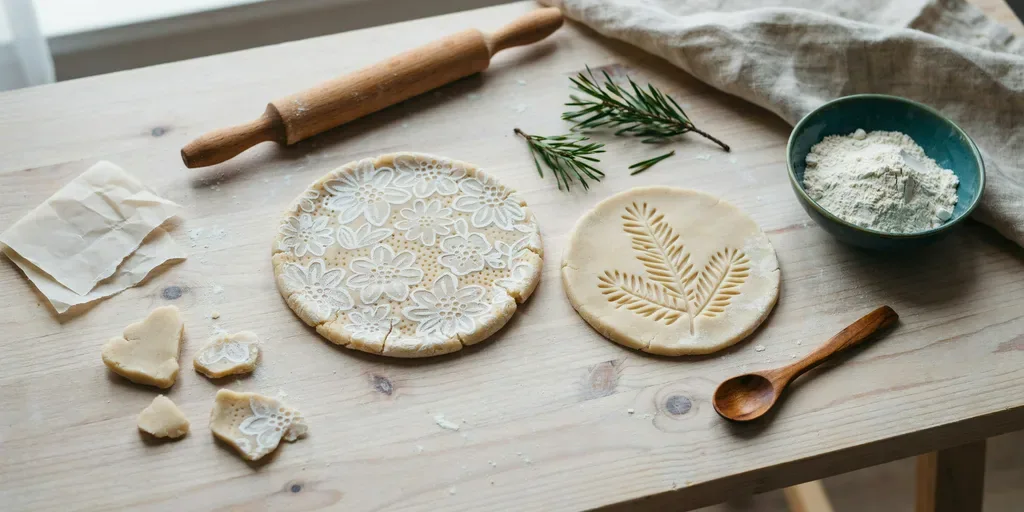
Before cutting, lay a piece of lace, a fresh leaf or a sprig of pine on the rolled dough, and roll over it once with gentle pressure. Lift it straight up. Then cut the shapes around the pattern.
Lace and pine leave the clearest impressions. Children’s handprints work the same way, on a larger round.
5. Make the hanging hole
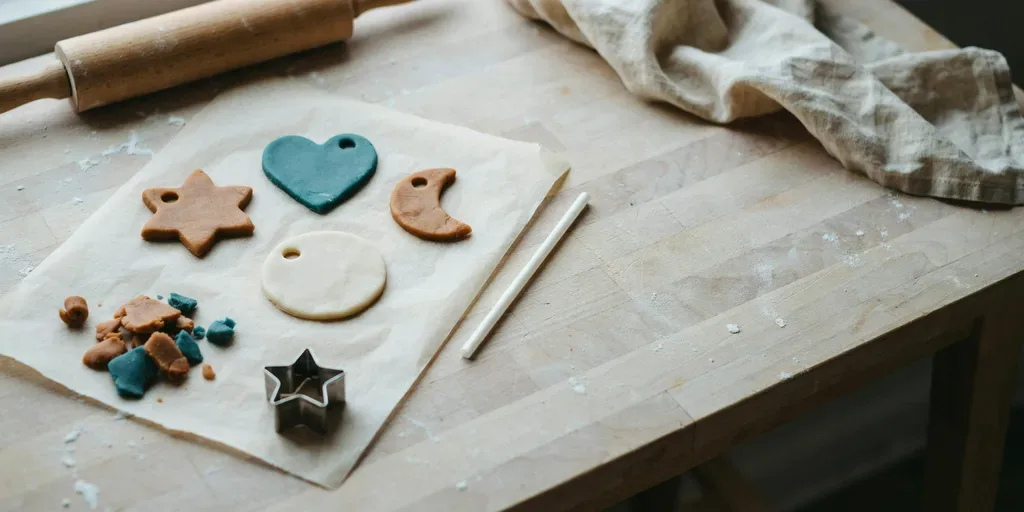
Push a drinking straw through each shape about a quarter inch from the top edge. Any closer and the ornament can break at the hole. The dough shrinks slightly while drying, so make the hole a little bigger than your ribbon.
6. Bake low and slow
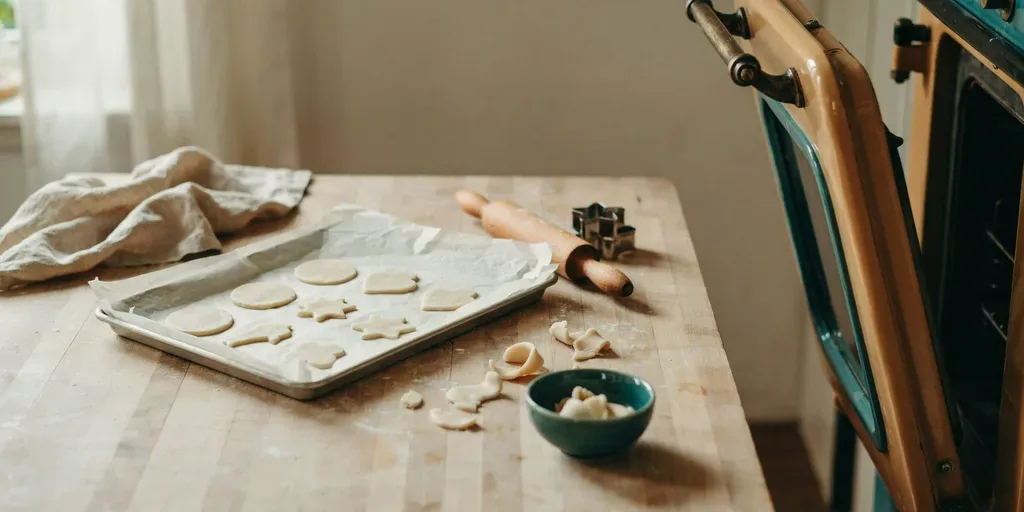
Bake at 200°F for 2 to 3 hours on a parchment-lined sheet, turning them over halfway. The goal is to dry them, not cook them. Higher temperatures make them puff and brown.
They’re done when they’re hard and sound hollow when tapped. Thicker pieces take longer. Let them cool completely before painting.
Air drying is possible too but takes two to five days and they’re more likely to warp.
7. Paint or leave them white

Acrylic paint works well on salt dough. Paint only the raised parts for a subtle look, or wash a thin coat over textured pieces and wipe it off so the color stays in the pattern. Plain white with a lace texture is often the nicest result.
8. Seal and string

This is the step that makes them last. Salt dough absorbs moisture from the air, and unsealed ornaments go soft and can grow mold. Brush or spray a clear varnish on both sides and the edges, and let it dry fully. Two coats are better than one.
Thread linen ribbon or twine through the holes. Store them wrapped in tissue in a dry box.
Troubleshooting
Most salt dough problems have a simple cause:
| Problem | Likely cause | Fix |
|---|---|---|
| Puffed or bubbled | oven too hot | bake at 200°F or lower |
| Cracked surface | dough too dry, or dried too fast | knead longer, add a few drops of water |
| Soft in the middle | rolled too thick, or not baked long enough | roll to a quarter inch, bake longer |
| Brown edges | oven too hot or uneven | lower the temperature, turn the tray |
| Curled or warped | dried on one side only | turn them halfway through |
| Soft months later | not sealed, or stored damp | seal both sides, store dry |
| Rough, gritty surface | coarse salt | use fine table salt |
If an ornament comes out of the oven slightly soft, leave it on a rack overnight to finish air drying before painting.
What We Would Skip
Baking at 350°F to save time. They puff, brown and crack.
Skipping the sealer. They’ll be soft by next Christmas.
Self-rising flour.
Rolling thicker than about a quarter inch. Thick ornaments take hours longer and may never dry in the center.
Where We Would Start
One batch, white, with lace textures and ribbon. Then try painting next year’s batch. Salt dough ornaments are among the most popular DIY Christmas ornaments for a reason, and they make good DIY Christmas gifts packed in a small box. For a dough that air dries, see air dry clay crafts.
Questions We Get Asked
What is the recipe for salt dough ornaments?
Two cups of flour, one cup of fine salt and about three quarters of a cup of warm water.
What temperature do you bake salt dough ornaments?
Low, around 200°F, for 2 to 3 hours, turning them halfway.
Why did my salt dough ornaments puff up?
The oven was too hot, the dough was rolled too thick, or self-rising flour was used.
Can you air dry salt dough ornaments?
Yes, but it takes two to five days and they may warp. Turn them every day.
How do you seal salt dough ornaments?
With a clear acrylic varnish or sealer, brushed or sprayed on all sides once they’re completely dry.
How long do salt dough ornaments last?
Many years, if fully dried, sealed and stored somewhere dry.
Can you microwave salt dough to dry it?
It’s possible in short bursts, but it often puffs and cracks. A low oven gives much more even results.