10 Air Dry Clay Crafts That Don’t Crack
Air dry clay is the most approachable craft material there is. No kiln, no oven, no special tools. It’s also the one most people give up on after the first piece cracks overnight, which almost always comes down to thickness and drying speed rather than skill.
Here are ten projects, and before them, the three things the package tends to leave out.
Clay Crafts Air Dry: What the Package Doesn’t Tell You
Cracks come from uneven drying. Thin parts dry and shrink before thick parts, and the difference pulls the clay apart. Keep pieces an even thickness, about a quarter inch for most projects. Dry them slowly, away from heaters and direct sun, and turn flat pieces over halfway through so both sides dry at the same rate. Most pieces take 24 to 72 hours to dry fully, longer if they’re thick.
Joins need scoring and slip. Two pieces of clay pressed together separate as they dry. Scratch crosshatch marks into both surfaces, brush on slip (clay mixed with water to a thick paste), press them together and smooth the seam.
Air dry clay isn’t waterproof or food-safe. It softens when wet, even after sealing. A clear varnish or sealer protects it from humidity and handling, but it doesn’t make it suitable for water, food or drinks. Use pieces for dry things: jewelry, keys, dried flowers, pens.
A small cup of water, a sponge, a rolling pin, a craft knife and some fine sandpaper cover every project below.
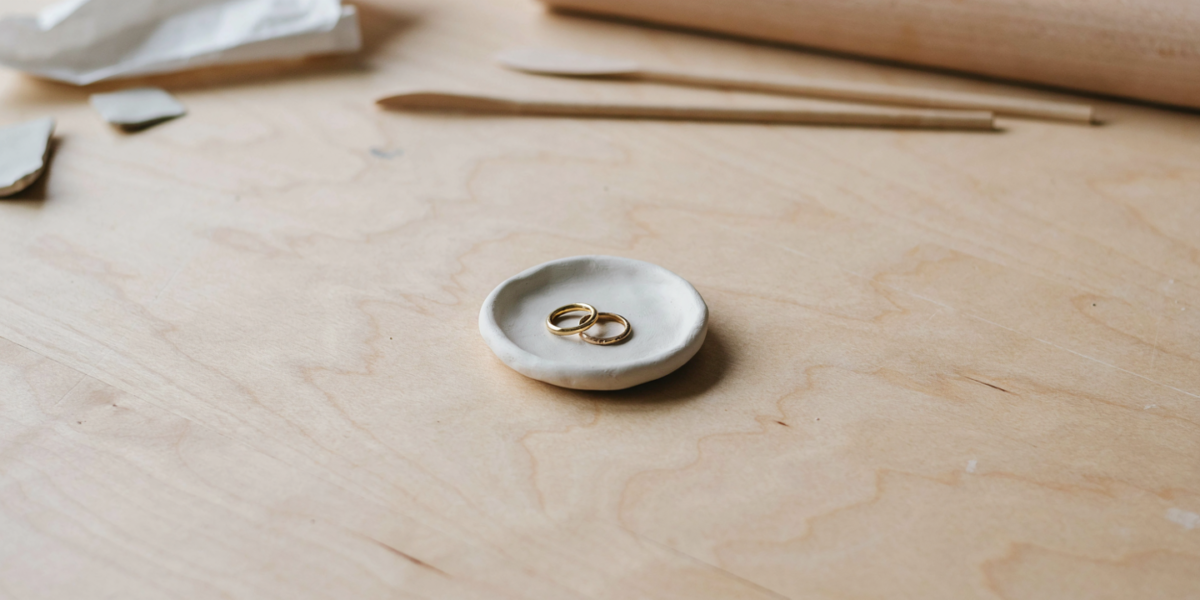
1. Trinket dish
Roll the clay to a quarter inch, cut a circle around a small bowl, and press it gently into the bowl to shape it. Smooth the rim with a damp finger. Once dry, sand the edge and paint or seal it.
Two paint stirrers either side of the clay as a rolling guide give you an even thickness every time.
2. Ring cone
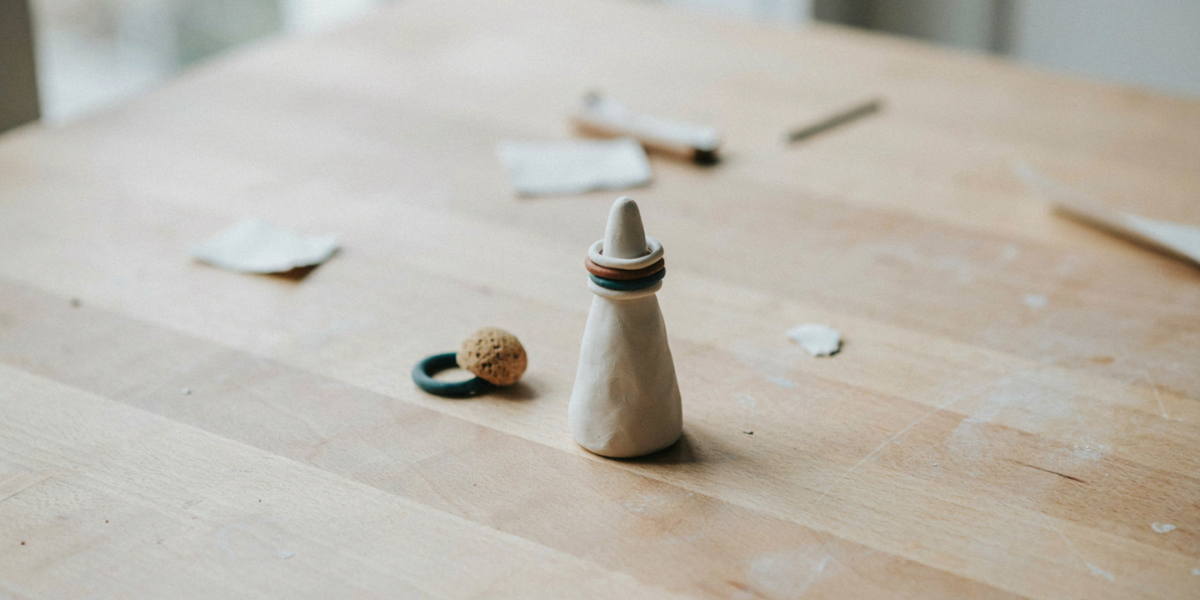
Roll a ball of clay into a cone about three inches tall with your palms, flatten the base on the table, and smooth it with a damp finger. It’s solid, so give it three days to dry fully.
The simplest piece on this list, and a useful one next to a sink, with the reminder that it stays away from water.
3. Bead garland
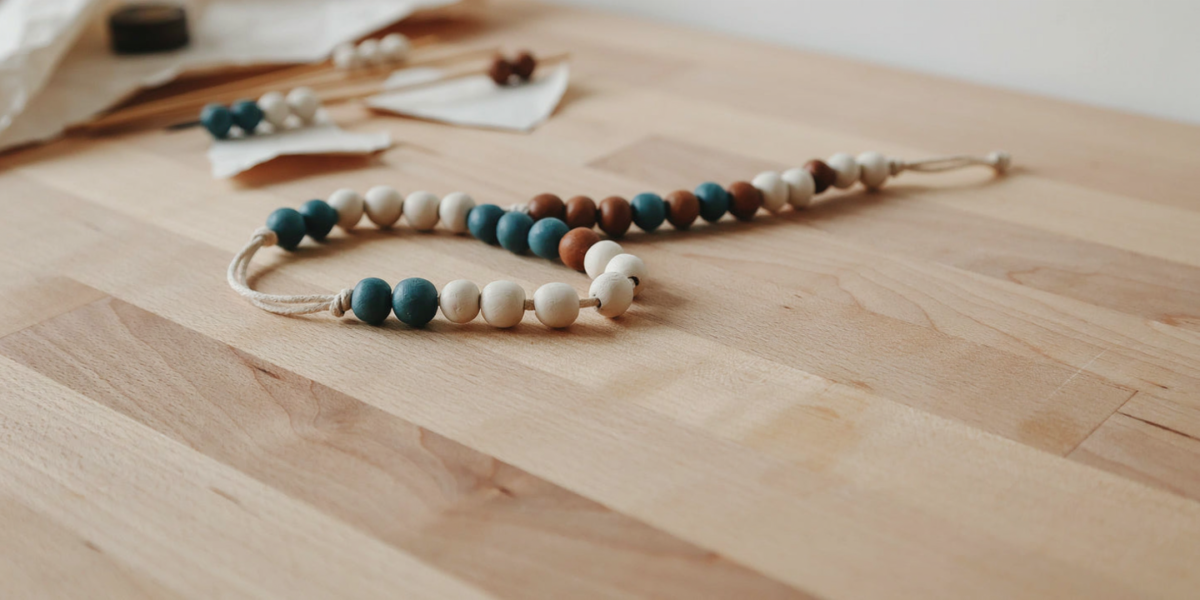
Roll small balls of clay, pierce each with a bamboo skewer, and leave them on the skewer to dry so the hole stays open. Paint them in two or three colors, seal, and thread them on cotton cord with knots between.
Rotate the beads on the skewer once or twice while they dry, or they’ll stick.
4. Taper candle holder
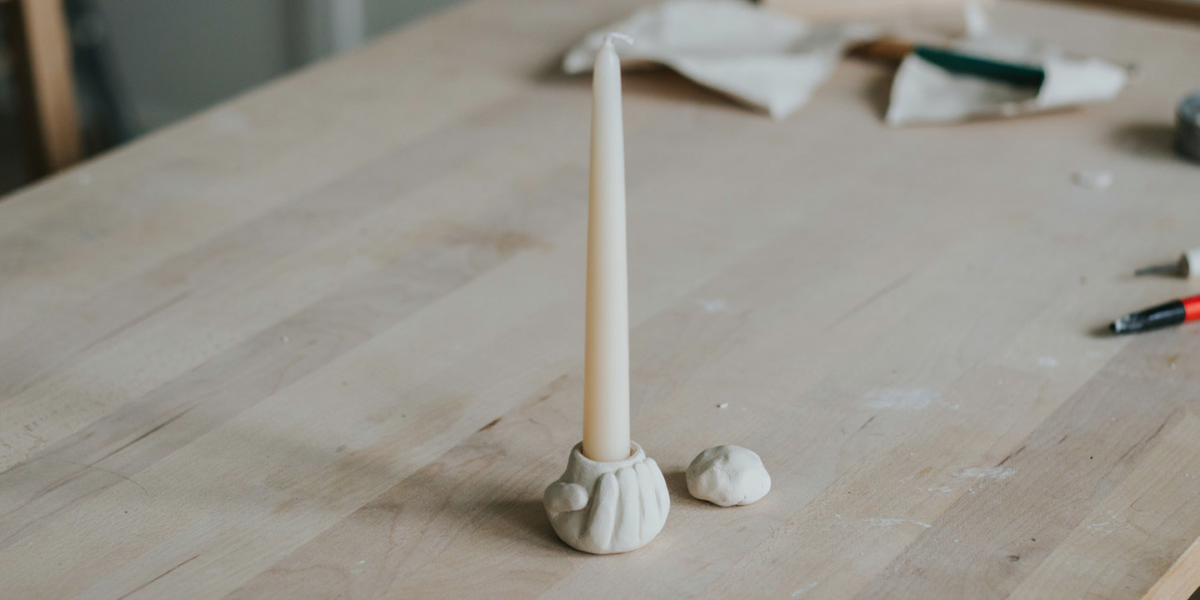
Roll a ball of clay about the size of a lemon, flatten the bottom, and press the base of a taper candle into the top to make a snug hole about three-quarters of an inch deep. Remove the candle and let it dry.
Clay shrinks slightly as it dries, so make the hole a little loose. Never leave a lit candle unattended.
5. Gift tags and ornaments
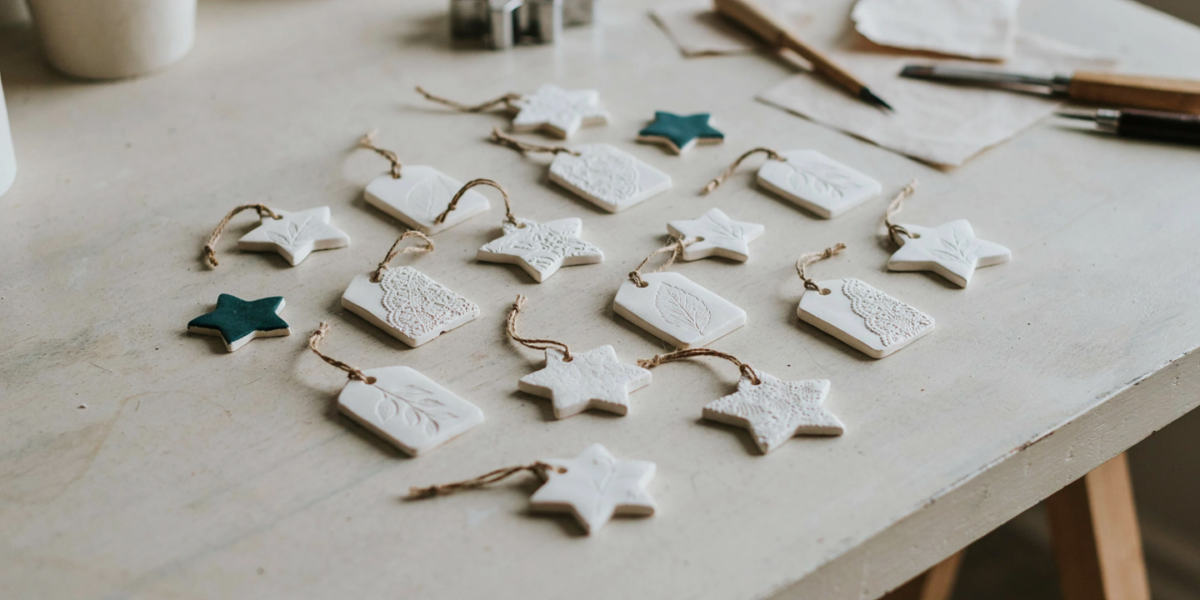
Roll clay to an eighth of an inch, cut shapes with cookie cutters, and poke a hole for ribbon with a straw. Press a leaf, a stamp or lace into the surface before cutting for texture. Dry them flat between two sheets of paper under a light board so they don’t curl.
6. Bud vase cover
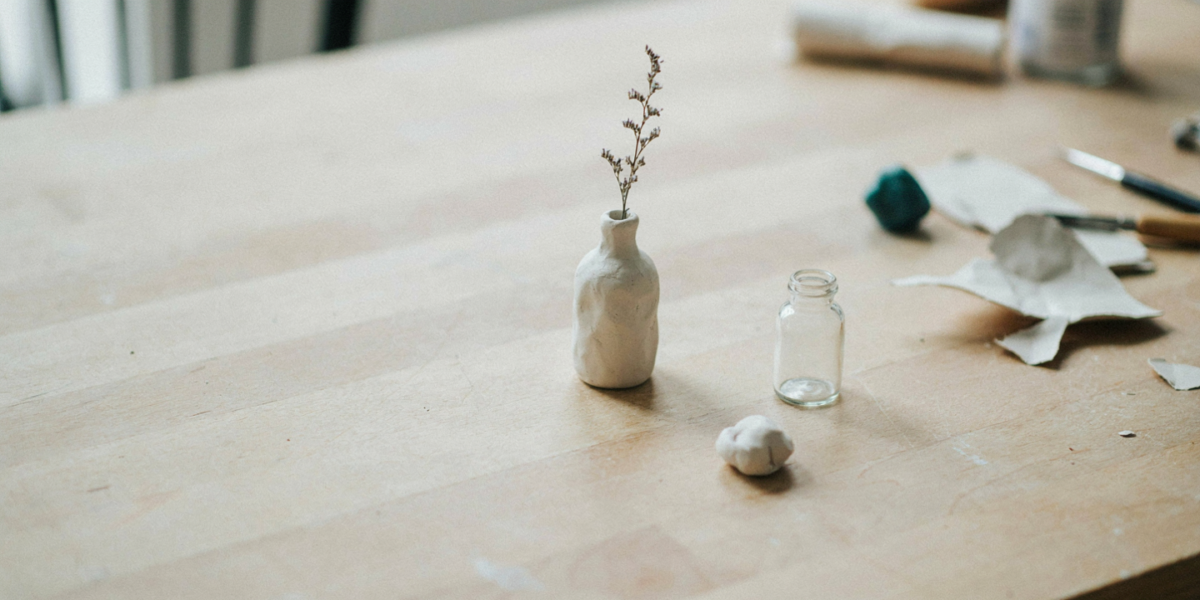
Air dry clay can’t hold water, but it can cover something that does. Wrap a small glass bottle or test tube in clay, smooth it, and let it dry. The glass holds the water and the clay makes the vase.
Seal the outside, and fill with care so water doesn’t run down the clay.
7. Wall hanging
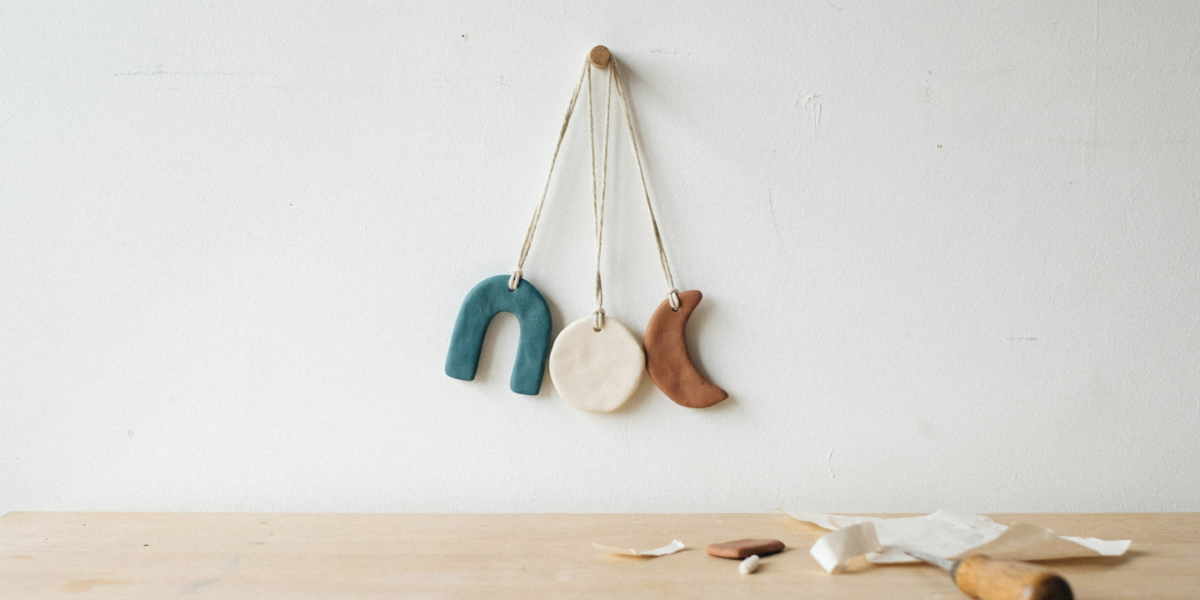
Cut a crescent, arch or a few circles, pierce holes near the edges, and let them dry flat. Paint them in simple blocks of color, then link them with cotton cord and hang them from a small piece of driftwood or a dowel.
8. Coasters, sealed
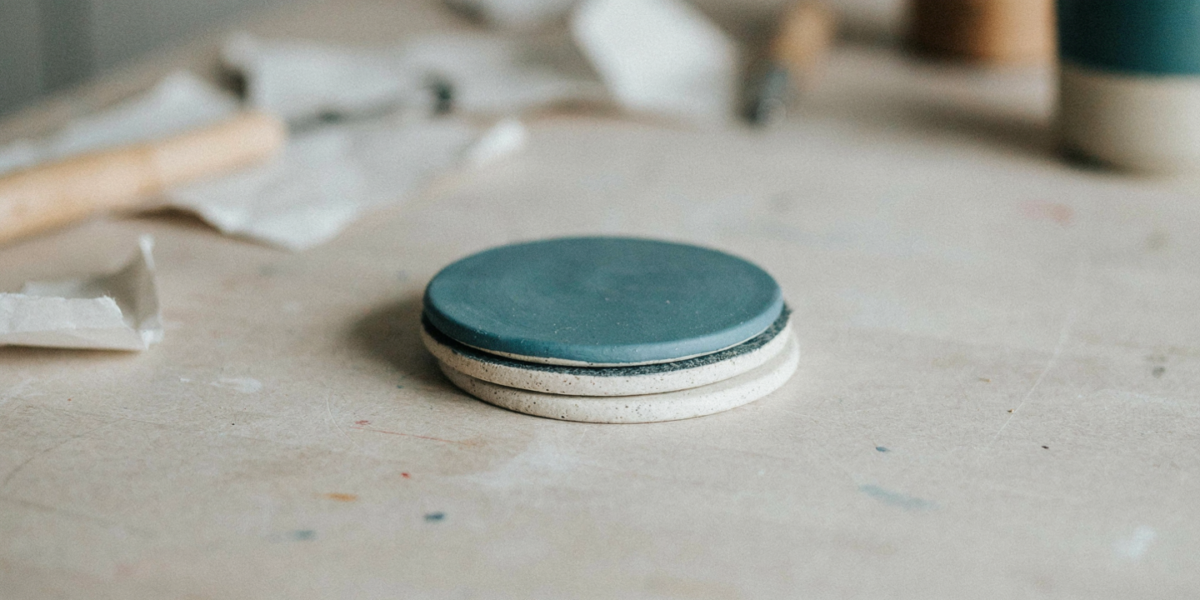
Roll the clay a little thicker, three-eighths of an inch, cut squares or circles, and dry them slowly with a board on top to keep them flat. Sand, paint and seal them with several coats of a water-based varnish, and glue felt to the bottom.
They’ll handle a mug of coffee. They won’t handle a sweating glass of iced water every day for a year.
9. Pinch pot for jewelry or keys
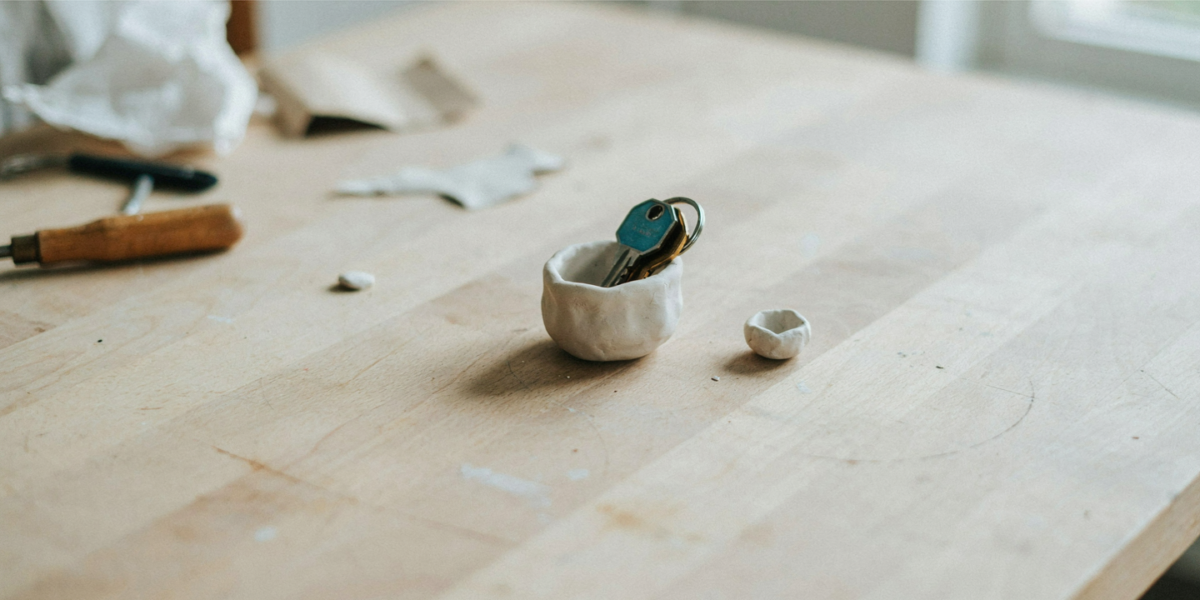
Roll a ball of clay, push your thumb into the center, and pinch the walls up and outward while turning it in your hand. Keep the walls even. Flatten the base on the table.
The pinch pot is the oldest clay technique there is, and the best practice for keeping thickness even.
10. Place cards and name tags
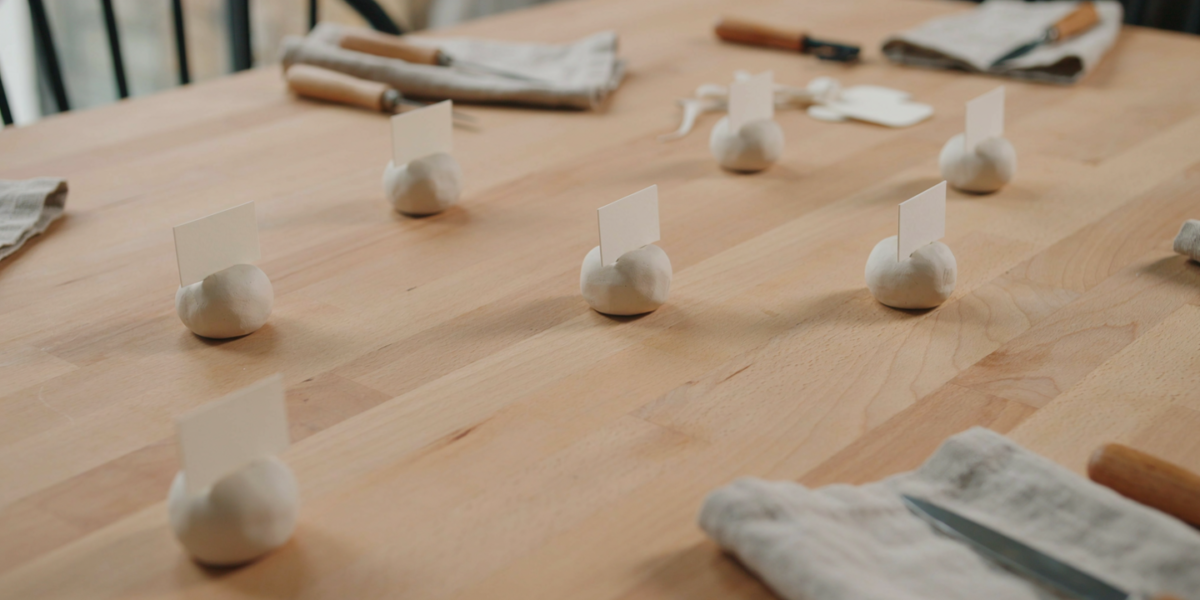
Roll small balls of clay, flatten one side so they stand up, and cut a slit in the top with a craft knife to hold a paper name card. Or roll flat tags and write names on them in paint pen once dry.
A good project for a table setting, and fast: a dozen take under an hour.
What We Would Skip
Anything for food, drink or water. Air dry clay softens when wet, even sealed. For mugs, plates and planters you water, it has to be kiln-fired ceramic.
Thick, solid shapes as a first project. The thicker the piece, the longer it takes to dry and the likelier it is to crack.
Drying in front of a heater or in the sun to speed it up. That’s the most common cause of cracks.
Where We Would Start
The trinket dish (1) and a few gift tags (5) from the same pound of clay. Both are thin and even, which teaches the one habit that prevents cracking.
For other first projects, see our easy DIY crafts. Clay dishes, bead garlands and ornaments also make simple DIY Christmas gifts.
Questions We Get Asked
How long does air dry clay take to dry?
Usually 24 to 72 hours, depending on thickness and humidity. Thin pieces dry faster; solid pieces can take several days. Turn flat pieces over halfway through.
How do you keep air dry clay from cracking?
Keep the thickness even, dry pieces slowly away from heat and sun, turn them while drying, and join pieces by scoring and adding slip rather than pressing them together.
Is air dry clay waterproof?
No. It softens when wet. A sealer protects it from humidity and handling but doesn’t make it waterproof or food-safe.
What do you seal air dry clay with?
A clear water-based varnish, a matte or gloss acrylic sealer, or a decoupage medium. Apply several thin coats after painting and let each dry.
Can you paint air dry clay?
Yes, once it’s completely dry. Acrylic paint works best. Sand rough spots first and seal the paint afterwards.
Can you bake air dry clay to dry it faster?
It isn’t designed for baking, and heat speeds up uneven drying, which causes cracks. Air drying slowly gives better results.