
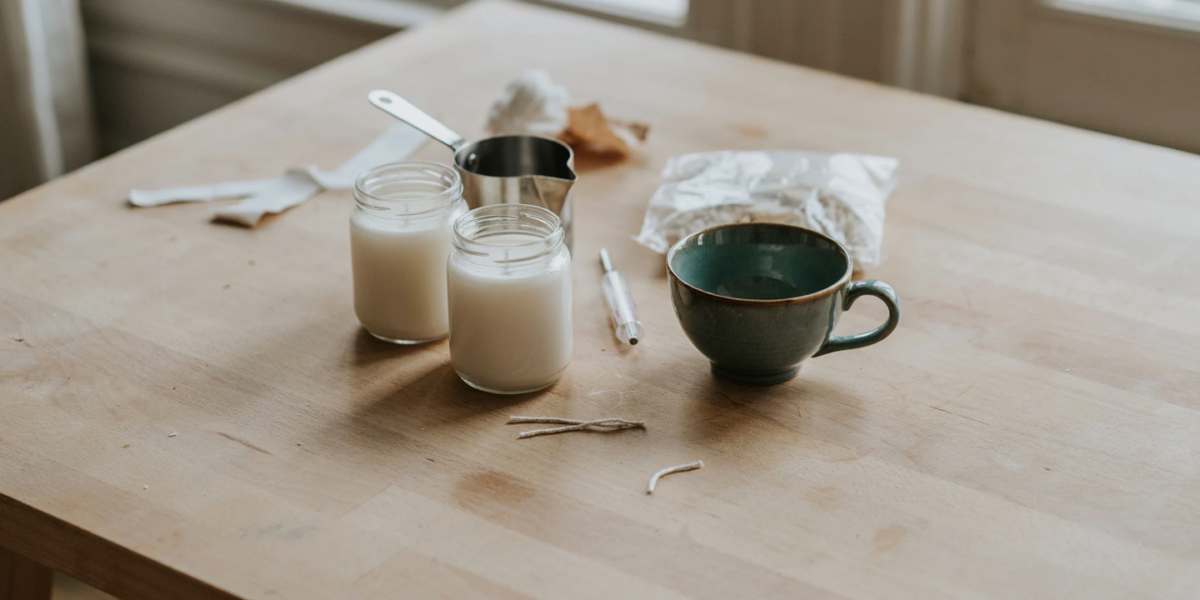
DIY Candles: 7 Versions, and the Two Faults Everyone Hits
Candle making looks like melting wax and pouring it into a jar, and for the first ten minutes that’s what it is. Then the candle sets with a crater in the middle, or burns a narrow tunnel straight down and drowns its own wick after an evening.
Those are the two faults almost every first candle has, and both are avoidable. This guide covers the basics that prevent them, then seven versions to make once the basic one works.
DIY Candles Start With Wax, Wick and Temperature
Wax. For container candles, use a soy container wax. It’s forgiving, easy to clean up with warm soapy water, and made for jars. Beeswax and paraffin behave differently and need different wicks.
Wick. Wick size depends on the jar’s diameter and on the wax. Every wick supplier publishes a sizing chart; use it, and expect to test. A wick that’s too small is the main cause of tunneling. One that’s too large makes a tall, sooty flame and overheats the jar.
Temperature. This is where most first candles go wrong. Each wax comes with its own sheet from the supplier giving three numbers: how hot to melt it, when to add fragrance, and when to pour. For many soy container waxes that’s roughly: add fragrance at about 185°F, stir gently for two minutes, and pour at about 125°F to 135°F. Use a thermometer. Guessing doesn’t work.
How much wax. A jar that holds 8 fluid ounces of water to the brim takes roughly 6 to 7 ounces of wax by weight once you leave room at the top. Weigh the wax on a kitchen scale.
How much fragrance. Fragrance is measured by weight as a percentage of the wax. Many soy waxes allow up to 10 or 12 percent; most people use 6 to 10. For 7 ounces of wax at 8 percent, that’s 0.56 ounces, just over half an ounce. More fragrance than the wax can hold seeps out as oily beads on the surface.
Safety. Melt wax in a pouring pitcher set in a pan of simmering water, never directly on the burner. Don’t leave melting wax unattended. If wax ever catches fire, turn off the heat and cover the pan with a lid; never use water on a wax fire.
1. The basic soy jar candle
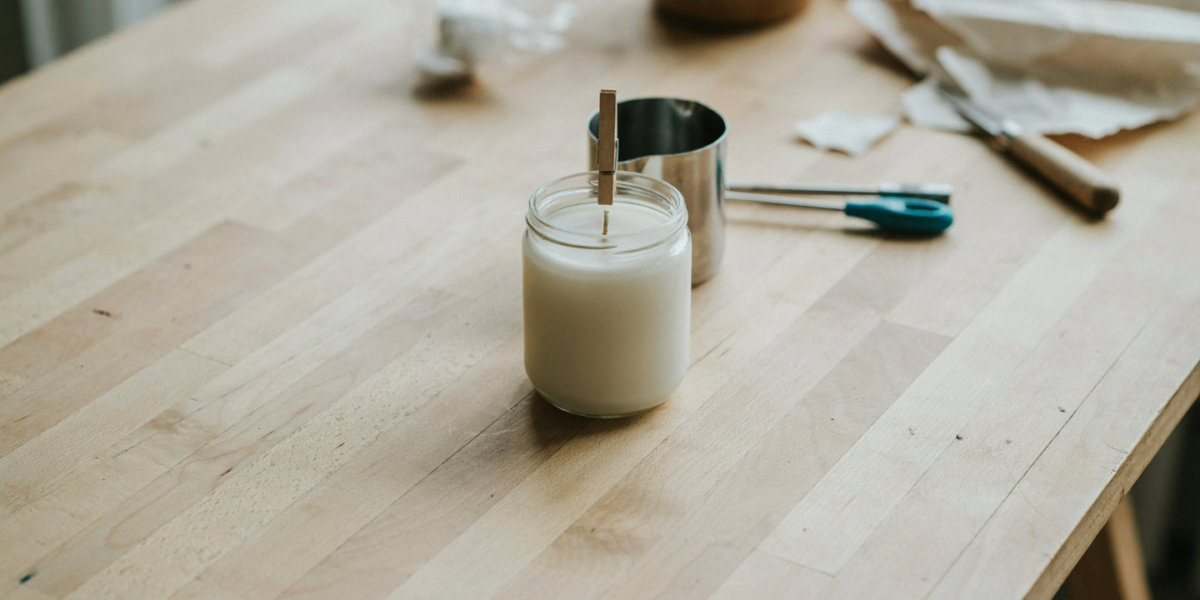
Glue a pre-tabbed wick to the center of a clean jar with a wick sticker or a dot of hot glue. Melt the wax, add fragrance at the supplier’s temperature, let it cool to pouring temperature, and pour slowly. Lay a clothespin or chopstick across the rim to keep the wick centered and upright. Let it set undisturbed for at least a day.
Soy candles smell stronger after curing. Leave them one to two weeks before burning if you can.
2. A thrifted teacup candle
Thick ceramic teacups and small bowls from a thrift store make better candle vessels than they look, as long as they’re solid and uncracked. Avoid thin glass and anything with a crack or crazed glaze, since the vessel gets hot. Size the wick to the cup’s inner diameter, and fill it no higher than about half an inch below the rim.

3. A two-layer candle
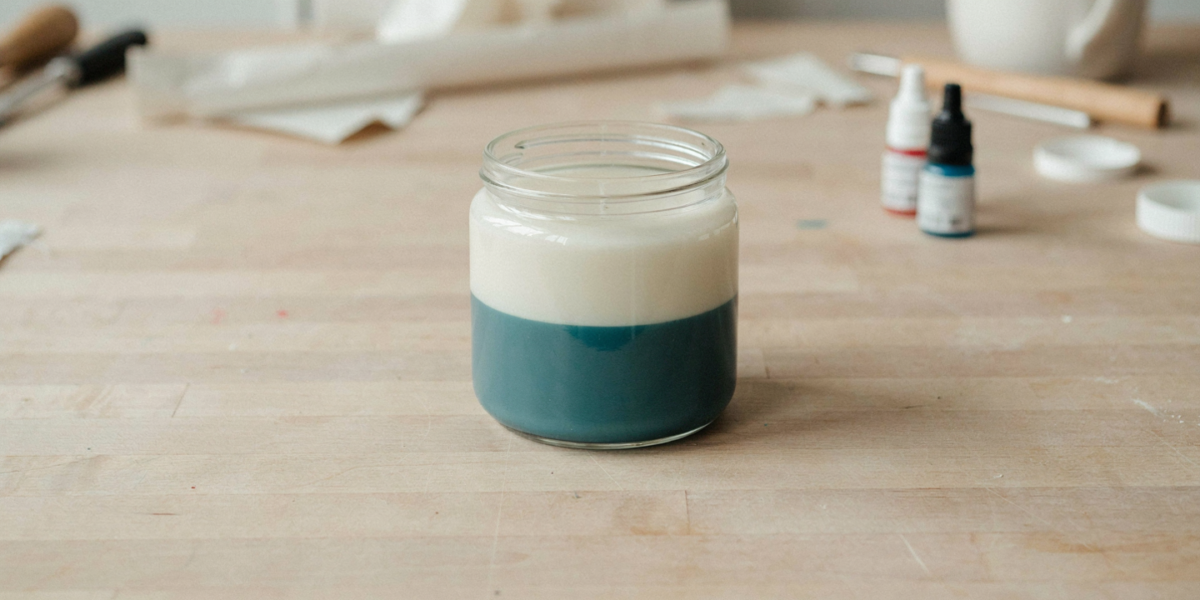
Pour the first layer, about a third of the jar, and let it set until firm but still slightly warm to the touch. Then pour the second layer in a different color at the same pouring temperature. If the first layer is fully cold, the two layers can separate; if it’s still liquid, they blend.
Use candle dye made for soy wax, not crayons. Crayon pigment clogs the wick.
4. Rolled beeswax candles
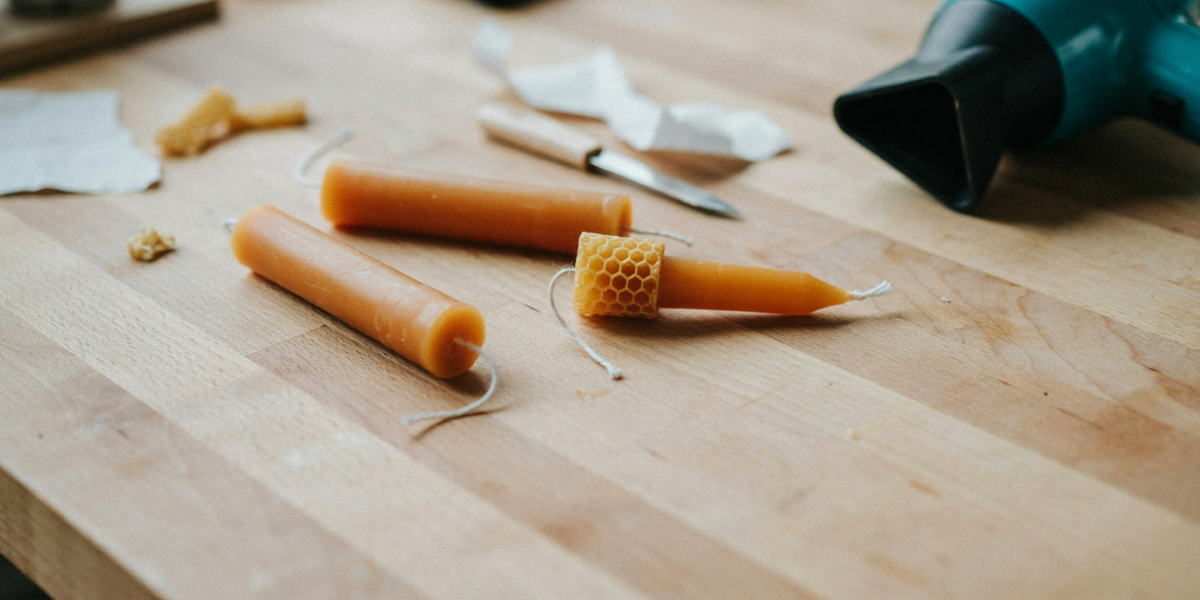
The easiest candle there is, because nothing gets melted. Warm a sheet of honeycomb beeswax briefly with a hair dryer so it’s pliable, lay a length of wick along one edge, and roll it tightly and evenly. Press the edge in to seal it. One sheet makes a taper, and a sheet cut diagonally makes a tapered spiral.
It’s the best first project for kids and for anyone who doesn’t want to handle hot wax.
5. Travel tin candles
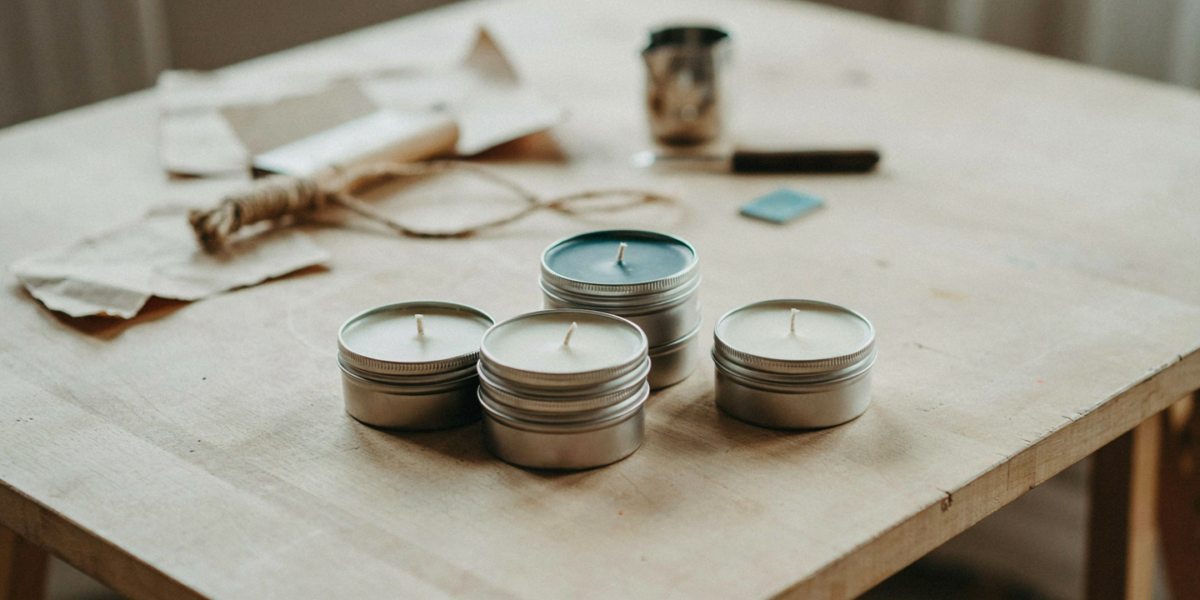
Small metal tins with lids are cheap, light, and nearly impossible to break, which makes them the most practical gift candle. Use a small wick sized for the tin’s diameter, pour, and put the lid on only once the candle has fully set.
Tins get hot on the bottom. Put a note on them, or on your own, about using a heat-safe surface.
6. Beeswax votives in a mold
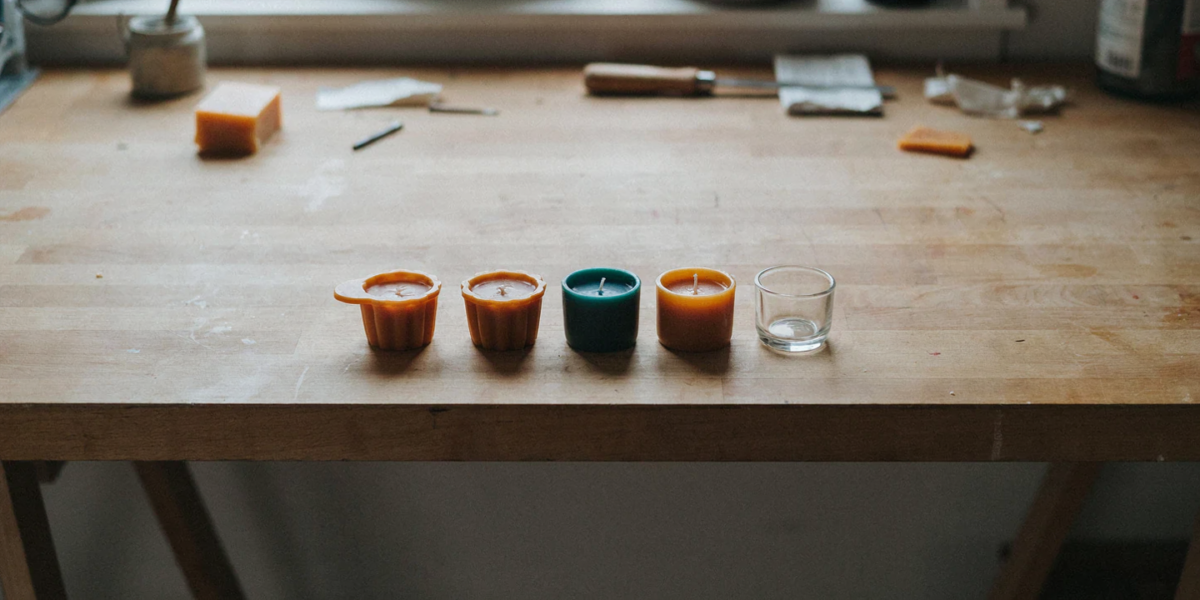
Beeswax has a higher melting point than soy and a beautiful honey smell on its own, so it needs no fragrance. Melt it in a pitcher over simmering water, pour it into silicone votive molds, and push a wick into each once the surface starts to set. Beeswax needs a larger wick than soy for the same diameter.
Burn votives in a votive holder. They’re designed to melt into a pool rather than hold their shape.
7. Refilling a finished candle jar
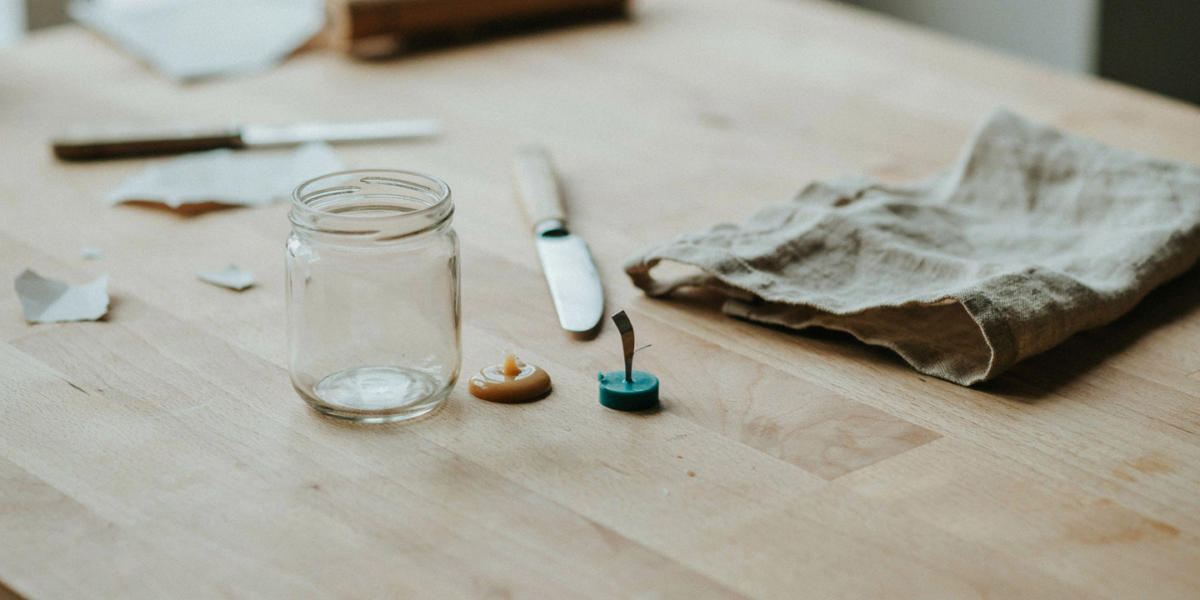
When a jar candle is finished, put it in the freezer for a few hours. The leftover wax shrinks and pops out with a butter knife. Clean the jar with hot soapy water, glue in a new wick, and pour a new candle.
It’s the cheapest candle on this list, and you already know the jar is heat-safe.
The Two Faults Everyone Hits
Tunneling
The candle burns straight down in a narrow hole, leaving a wall of unmelted wax around it. There are two causes. The wick is too small for the jar, or the first burn was too short. Wax has a memory: the melt pool from the first burn sets the pattern for every burn after.
The fix: on the first burn, let it go until the melted wax reaches the edge of the jar, roughly an hour for every inch of diameter. If it still tunnels, the next candle in that jar needs the next wick size up.
Sinkholes and cracks
The top sets with a crater or cracks around the wick. That usually comes from pouring too hot, or from the candle cooling too quickly in a cold room or a draft.
The fix: pour at the lower end of your wax’s range, let candles cool at room temperature away from windows, and if a crater forms anyway, top it up with a thin second pour of the same wax.
What We Would Skip
Scented candles from crayons, old perfume or essential oils in any quantity you like. Crayons clog wicks, perfume is alcohol-based, and too much of any oil sweats out of the wax.
Wood-wicked and multi-wick candles as a first project. They’re lovely and much harder to get right.
Burning a candle for more than about four hours at a time, and leaving any candle unattended. Trim the wick to about a quarter inch before every burn.
Where We Would Start
Rolled beeswax candles (4) if you want something finished tonight without heat. A basic soy jar candle (1) if you want to learn the real thing: one jar, one wick size from the supplier’s chart, a thermometer, and a full first burn a week or two later.
Once the basic candle burns evenly, most of the others follow. A candle in a thrifted jar is one of our favorite DIY Christmas gifts, and it sits well next to the other easy DIY crafts.
Questions We Get Asked
What do I need to make DIY candles?
Soy container wax, pre-tabbed cotton wicks sized for your jar, heat-safe jars, a metal pouring pitcher, a pan for simmering water, a thermometer, a kitchen scale, wick stickers or a glue gun, and fragrance oil made for candles if you want scent.
Why is my homemade candle tunneling?
Either the wick is too small for the jar’s diameter, or the first burn was too short. Let the first burn go until the melt pool reaches the edge, and size up the wick if it still tunnels.
How long should homemade soy candles cure?
One to two weeks for the fragrance to develop fully. They’re safe to burn once set, but they smell stronger after curing.
How much fragrance oil do I add to candle wax?
Most people use 6 to 10 percent of the wax weight. Check your wax’s maximum; many soy waxes allow up to 10 or 12 percent.
At what temperature do you pour soy wax?
It depends on the wax, so check your supplier’s sheet. Many soy container waxes pour at around 125°F to 135°F, with fragrance added at about 185°F.
Can I use any jar for a candle?
Use thick glass or ceramic designed to handle heat. Avoid thin glass, cracked or crazed vessels, and anything that isn’t flat on the bottom.