DIY Christmas Ornaments: 8 That Survive Being Packed Away
Handmade ornaments have one test that store-bought ones rarely face: will they still be in one piece next December? A lot of DIY ornaments are made for one season. They crack in the box, go soft in a damp basement or lose their glitter on everything else.
These eight are chosen because they last when made properly. Each one includes the step that makes the difference between one year and ten.
DIY Christmas Ornaments That Last More Than One Season
Three things decide how long a handmade ornament lasts: whether it’s fully dry, whether it’s sealed, and how it’s stored. Salt dough and clay must dry completely. Anything porous needs a coat of sealer. And everything goes into the box wrapped in tissue paper, not loose.
1. Salt dough ornaments
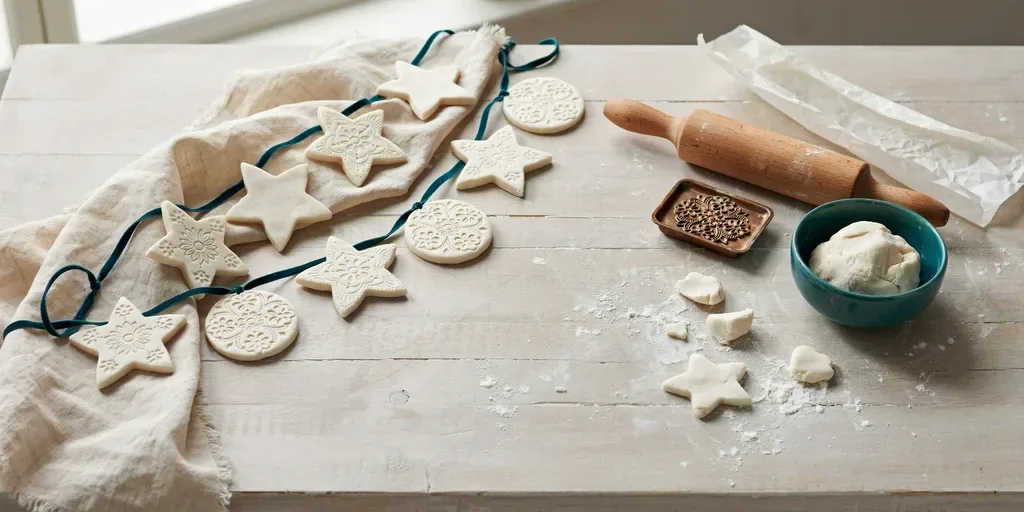
The classic. Two cups of flour, one cup of salt and about three quarters of a cup of water, rolled out, cut and baked low until dry. Sealed with a clear varnish, they last for years.
The whole process, including how to keep them from puffing and cracking, is in our guide to salt dough ornaments.
2. Clear balls filled with dried flowers
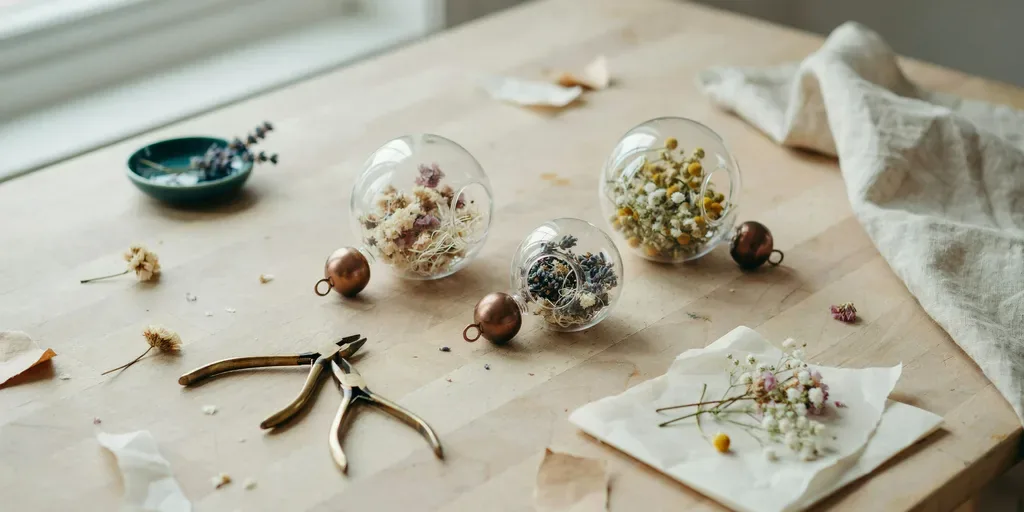
Buy fillable clear glass or plastic ornaments and fill them with small dried flowers: baby’s breath, lavender, small rosebuds, statice. Use tweezers or a chopstick to arrange them through the opening.
Make sure the flowers are completely dry. Any moisture inside a sealed ball fogs the glass and can grow mold.
3. Painted wood slices
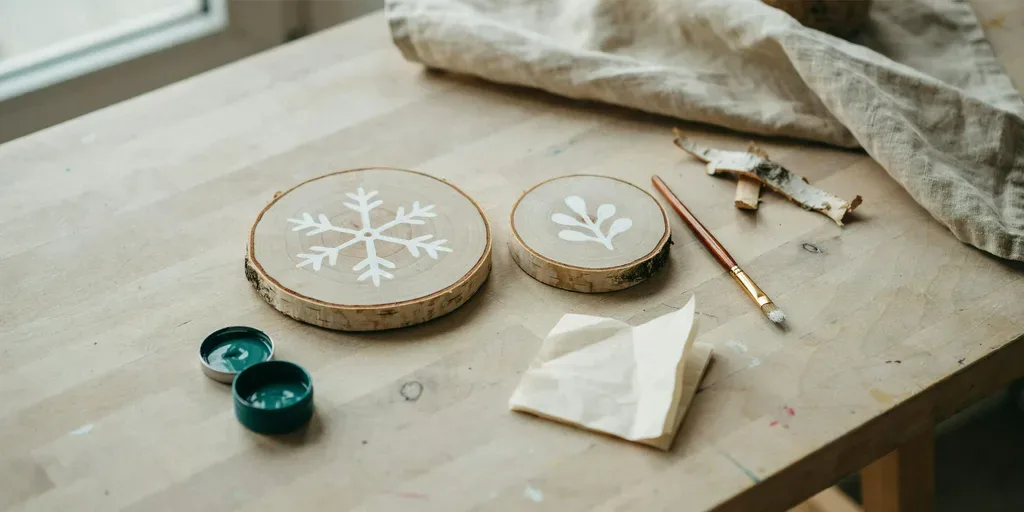
Birch wood slices, about 2 to 3 inches across, are sold pre-drilled in craft stores. Paint simple patterns with white acrylic paint and a fine brush: a snowflake, a pine branch, a single star. Seal with a matte varnish so the paint doesn’t flake.
4. Stitched felt ornaments
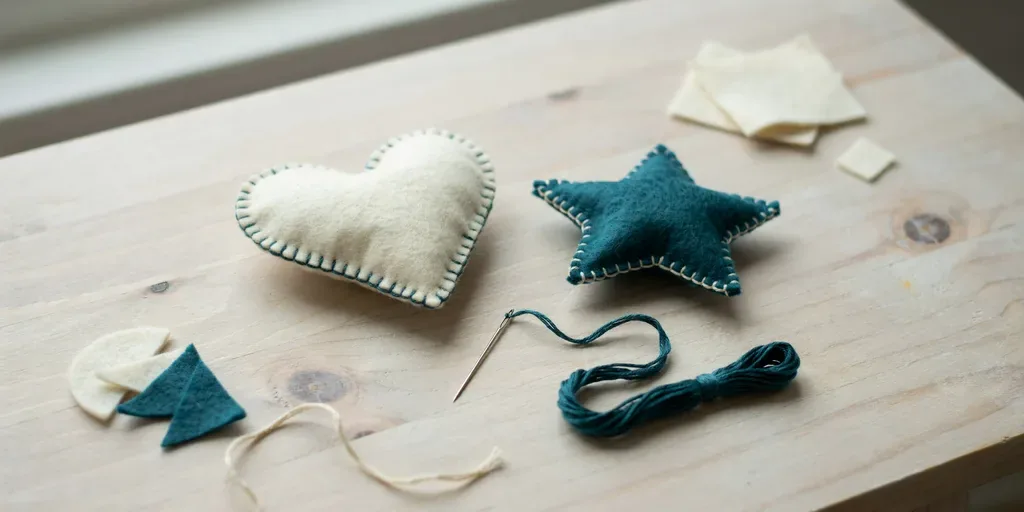
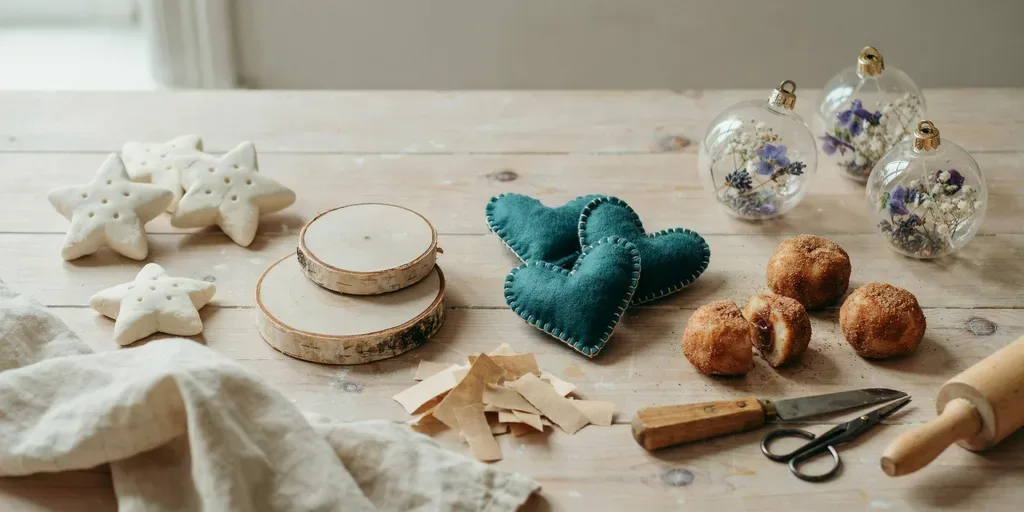
Cut two identical shapes from wool-blend felt, stitch them together around the edge with blanket stitch in embroidery floss, and stuff lightly before closing. Wool or wool-blend felt keeps its shape for years; cheap acrylic felt pills and stretches.
A good evening project in front of the TV.
5. Air dry clay stars
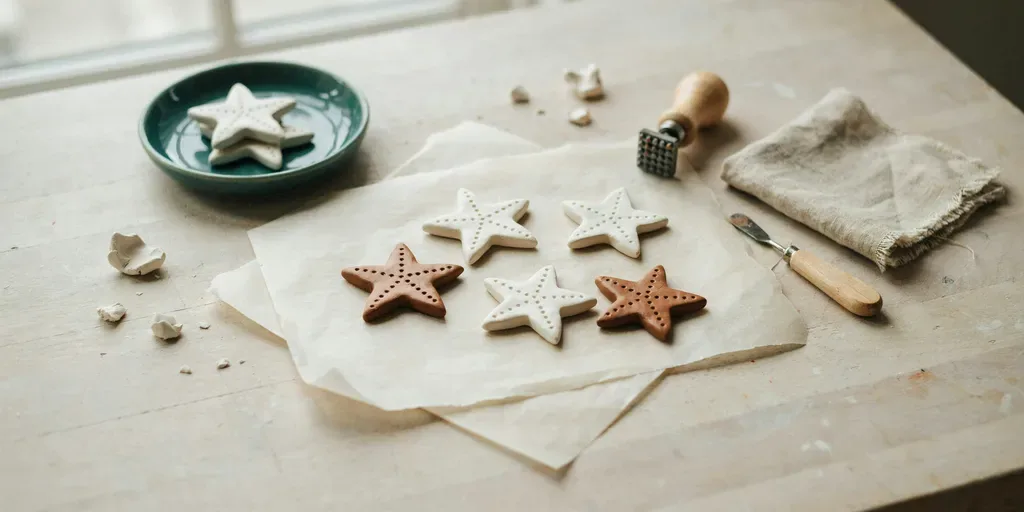
Roll air dry clay about a quarter inch thick, cut with a star cutter, press a pattern in with the end of a pencil or a stamp, and poke a hole for hanging. Let them dry for 24 to 72 hours, turning them once a day so they don’t curl.
Seal with varnish. Unsealed air dry clay softens in humidity. Our guide to air dry clay crafts has more on drying.
6. Cinnamon applesauce ornaments
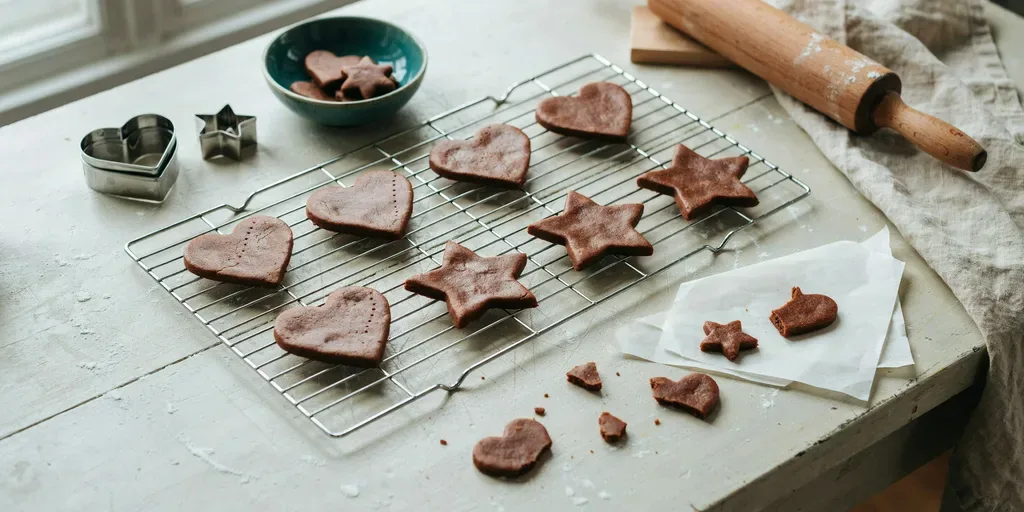
Mix roughly equal parts ground cinnamon and unsweetened applesauce, about a cup of each, until it forms a stiff dough. Roll it out, cut shapes, poke holes and dry them in the oven at 200°F for about two hours, turning halfway, or air dry for a few days.
They’re not edible, even though they smell like it. Keep them away from dogs.
7. Yarn-wrapped stars
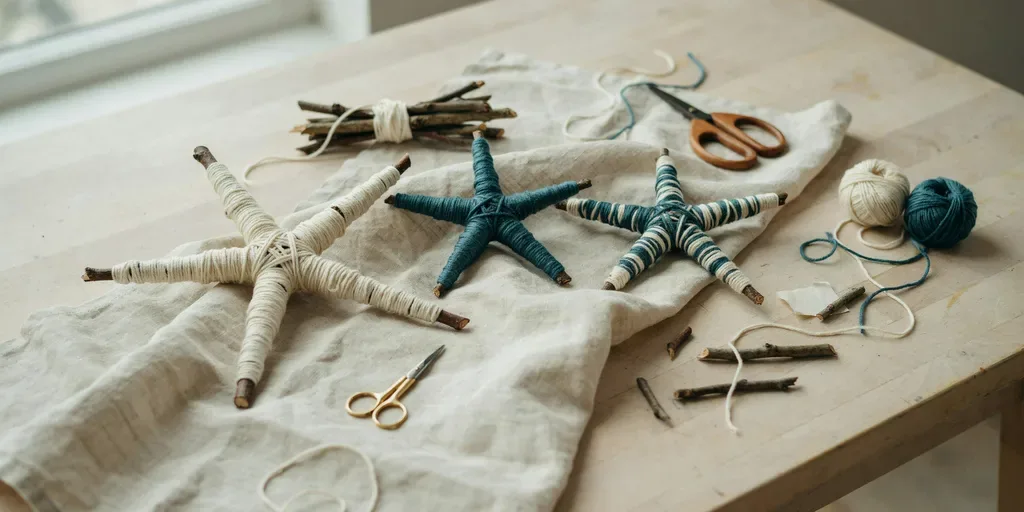
Glue five short, straight twigs into a star shape at the points. Once dry, wrap yarn around the frame in a crisscross pattern, or around each arm. Cream and one accent color look best.
8. Folded paper ornaments
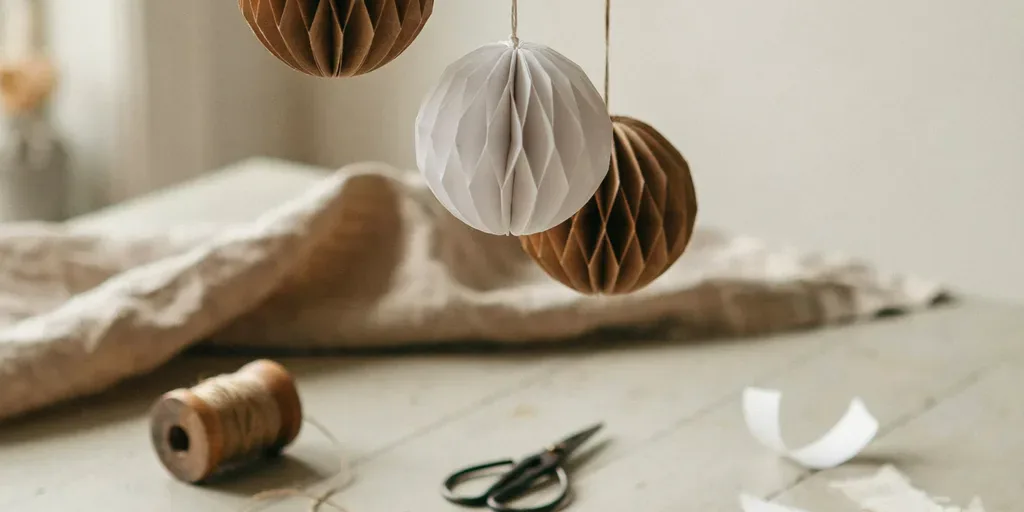
Fold several identical circles or squares of paper in half, glue them back to back, and they open into a three-dimensional ball. Kraft and white paper look good together. They’re light, so they can hang on thin branches where heavier ornaments won’t.
Storing Handmade Ornaments So They Last
Handmade ornaments are more fragile than store-bought glass in one way: they react to moisture and pressure. A few rules keep them for years:
- Wrap each one in tissue paper. Salt dough and clay chip if they knock together.
- Use a box with dividers, like an egg carton for small ornaments or a cardboard box with cardboard dividers for larger ones.
- Store indoors, in a closet or under a bed. Attics and garages get hot in summer and damp in winter, which softens salt dough, warps clay and fades dried flowers.
- Add a silica gel packet to the box. They come in many product packages and absorb moisture.
- Keep cinnamon ornaments separate, in their own bag. Their scent transfers to everything else.
- Label the box with what’s inside and the year they were made. Handmade ornaments become more meaningful over time.
Check them once a year when you unpack. Re-seal any salt dough or clay ornament that looks dull or soft.
What We Would Skip
Storing salt dough or clay ornaments in a damp basement or attic. Keep them indoors in a dry box.
Unsealed paint on wood. It flakes.
Glitter on anything. It ends up on every other ornament in the box.
Where We Would Start
Salt dough ornaments and stitched felt. One is a family afternoon, the other is a quiet evening project. For more ideas, see our DIY Christmas decorations and DIY Christmas gifts, since most of these make good gifts too.
Questions We Get Asked
What can I make my own Christmas ornaments out of?
Salt dough, air dry clay, wood slices, felt, paper, cinnamon dough, yarn and twigs, or clear fillable balls.
How do you make homemade ornaments last?
Dry them fully, seal anything porous with varnish, and store them wrapped in tissue in a dry box.
Are cinnamon ornaments edible?
No. They’re made with a large amount of cinnamon and aren’t meant to be eaten. Keep them out of reach of pets.
How long does air dry clay take to dry?
Usually 24 to 72 hours depending on thickness and humidity. Turn pieces daily to prevent curling.
What is the easiest DIY ornament for kids?
Salt dough or cinnamon dough ornaments cut with cookie cutters.
How do you store salt dough ornaments?
Wrapped in tissue in a dry box indoors, ideally with a silica gel packet. Avoid attics, basements and garages.