Christmas Wood Crafts You Can Make With a Hand Saw and Sandpaper
Wood crafts sound like they need a workshop. Most Christmas wood crafts don’t. A hand saw, sandpaper, a drill, wood glue and a few clamps cover everything below, and the material is often free: offcuts from a lumber yard, fallen branches, a split log or an old pallet board.
Each project includes the tools it needs and the step where it usually goes wrong.
Christmas Wood Crafts Start With Dry Wood
Fresh-cut branches and logs contain a lot of water. As they dry, they crack and shrink, often weeks after you’ve finished the project. Use wood that has been drying for several months, buy kiln-dried craft slices, or accept that fresh wood will crack and plan for it.
Wear eye protection when sawing and drilling, and sand outdoors or wear a dust mask.
1. Wood slice ornaments
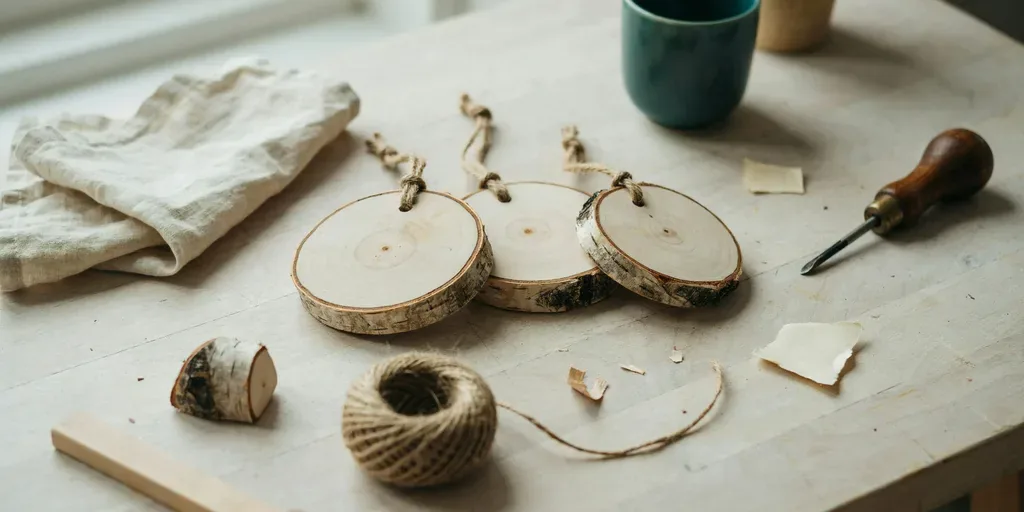
Tools: a drill with a small bit, sandpaper. Time: 5 minutes each.
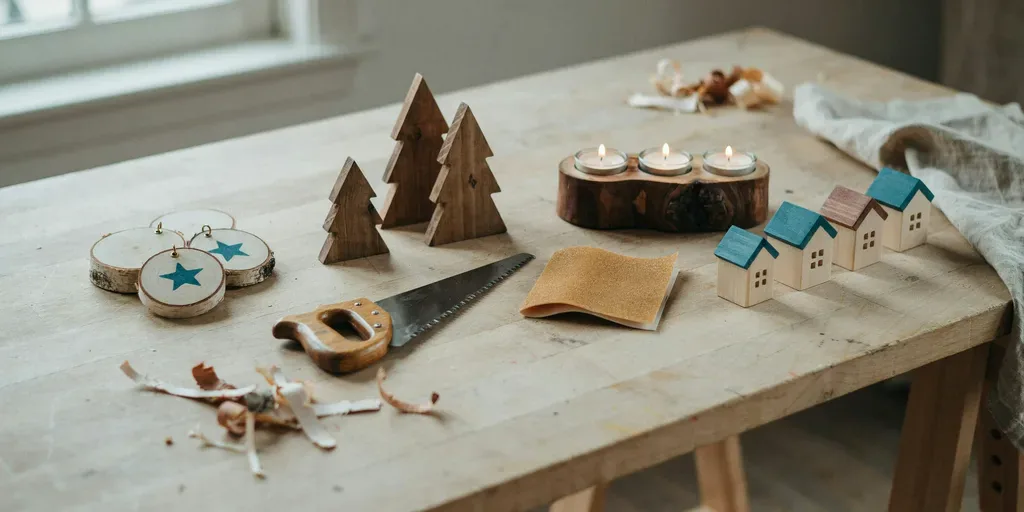
Buy kiln-dried birch slices about a quarter inch thick, or cut your own from a dry branch. Sand the faces smooth, drill a small hole near the edge and thread a loop of twine. Leave them plain, burn a simple pattern with a wood-burning tool, or paint them.
2. Scrap wood trees
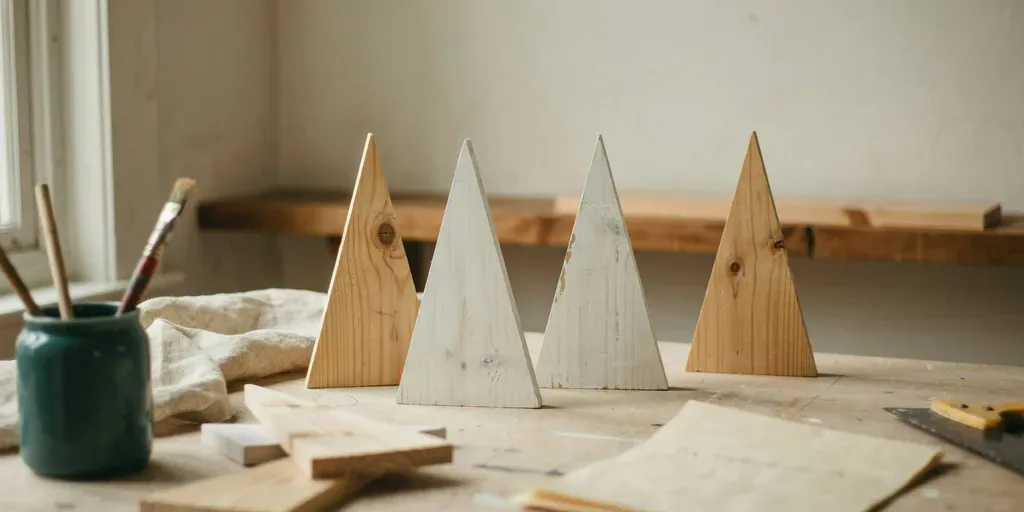
Tools: a hand saw or miter saw, sandpaper. Time: 15 minutes each.
Cut triangles from scrap pine or plywood boards: mark the center at the top, draw two lines down to the base corners and cut. Sand the edges and stand them on a small block base, glued and clamped. Make several heights and paint some white.
3. A log candle holder
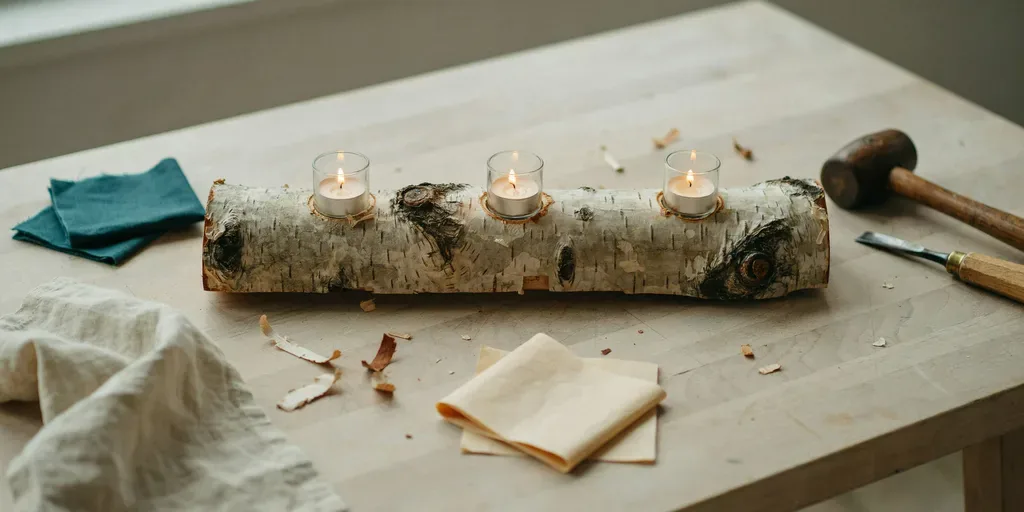
Tools: a drill with a 1 1/2 inch Forstner or spade bit. Time: 20 minutes.
Use a dry log split lengthwise so it sits flat. Drill three or four shallow holes along the top, the diameter of a tea light cup and about half an inch deep. Always use tea lights in their metal cups, never bare wax, and never leave them burning unattended.
Where it goes wrong: a log that rocks. Sand or cut the bottom flat first.
4. A wooden star

Tools: a hand saw, wood glue, twine. Time: 30 minutes.
Cut five straight sticks or thin dowels to the same length. Lay them in a five-point star, overlapping at the points, glue each joint and wrap it with twine for strength. A large star, 2 to 3 feet across, looks good on a wall or above a mantel.
5. Dowel ornaments
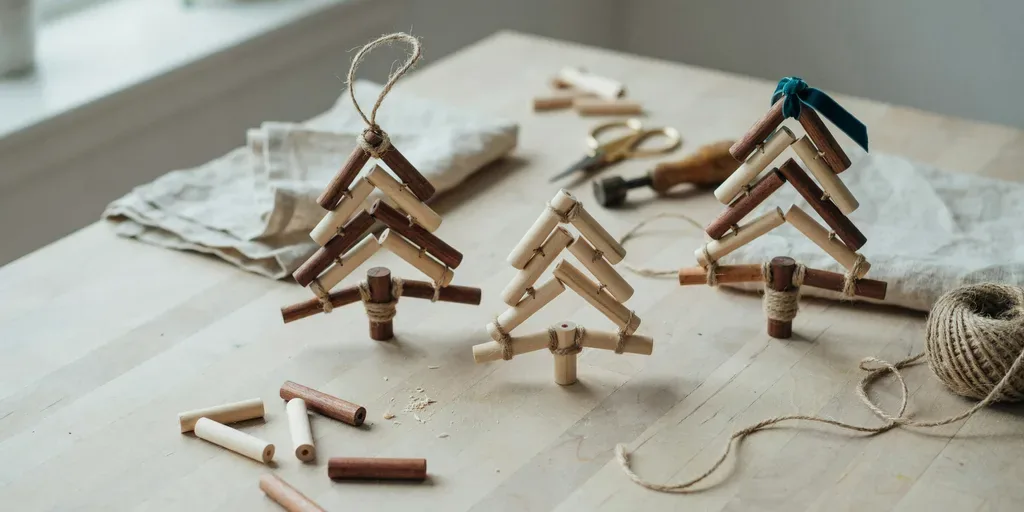
Tools: a hand saw, a drill, sandpaper. Time: 20 minutes each.
Cut a dowel into pieces of decreasing length, drill a hole through the center of each, and thread them onto twine from longest to shortest. They form a small tree. Add a bead at the top.
6. A little wooden village
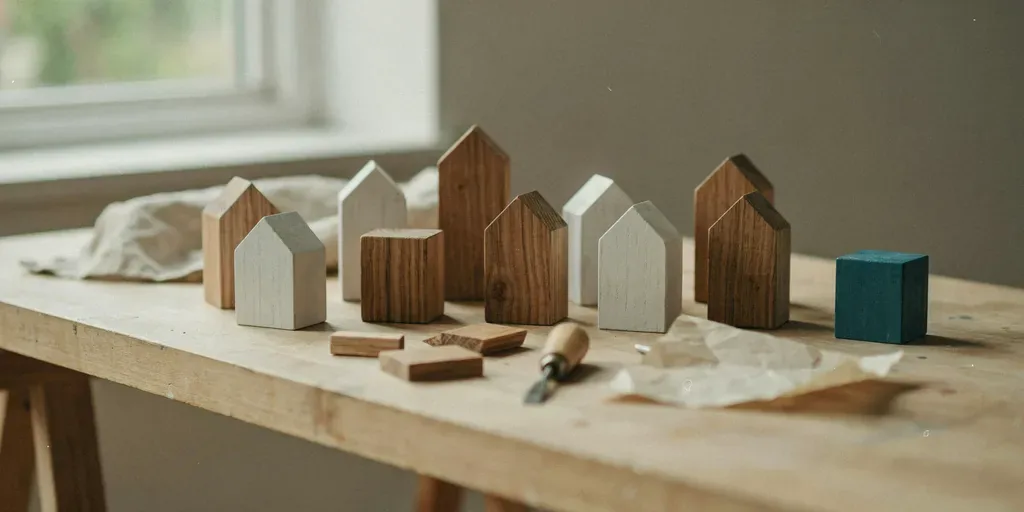
Tools: a miter saw or hand saw with a miter box, sandpaper, paint. Time: 1 to 2 hours for five houses.
Cut a length of 2-by-4 lumber into blocks of different heights. Make two 45-degree cuts at the top of each to form a roof. Sand, then paint some white and leave others raw. A row of five on a mantel or windowsill is enough.
7. A reclaimed wood tree
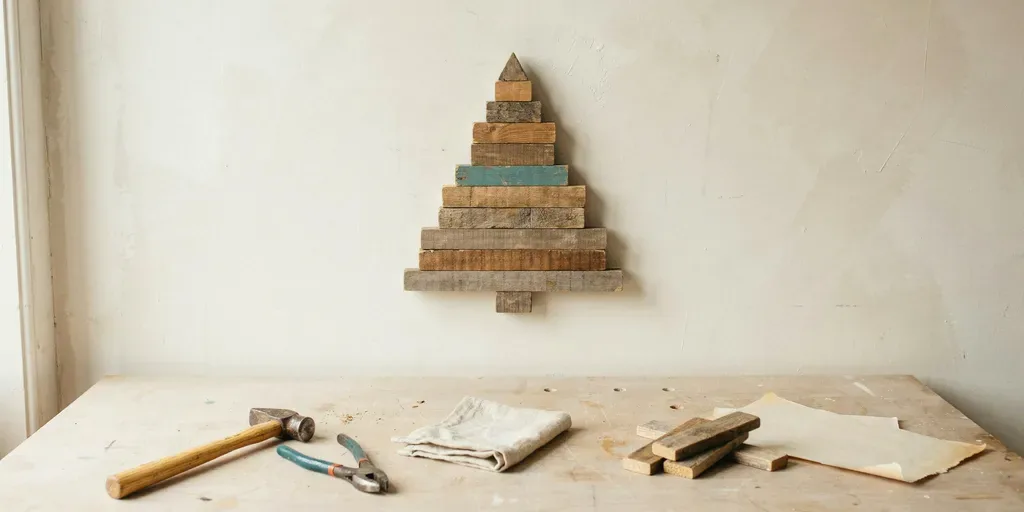
Tools: a saw, a drill, screws, a straight piece of wood for the spine. Time: 1 to 2 hours.
Cut old boards or pallet slats into lengths that get shorter toward the top. Screw them onto a vertical board at the back, evenly spaced. Add a small star at the top. It hangs flat on the wall, which makes it a Christmas tree for rooms with no floor space.
Use only pallets marked HT (heat treated); avoid pallets marked MB, which may have been chemically treated.
8. Sand and oil, don’t varnish
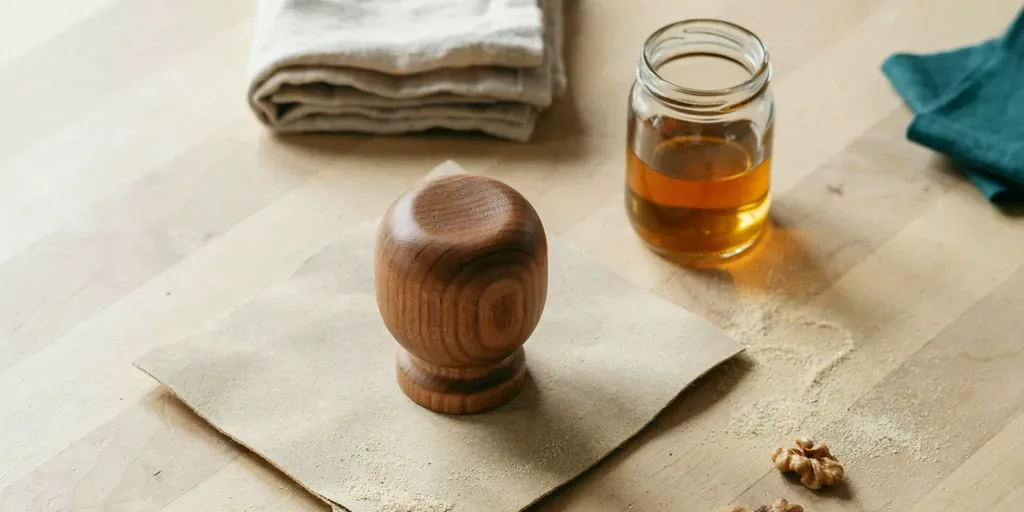
Sand everything to 180 or 220 grit for a smooth surface. Then wipe on a thin coat of a wood finishing oil or beeswax polish with a cloth. It brings out the grain, feels nicer than varnish and is easy to refresh next year.
Basic Tools and What They Cost
None of these projects need a workshop, but a few tools make them much easier. Rough US prices for basic versions:
| Tool | Rough cost | Used for |
|---|---|---|
| Hand saw with miter box | $20 to $40 | trees, houses, cutting dowels |
| Cordless drill with bits | $50 to $100 | holes for ornaments, candle holder |
| Forstner or spade bit, 1 1/2 inch | $10 to $20 | tea light holes |
| Sandpaper, 80 to 220 grit | $10 | smoothing everything |
| Wood glue and two clamps | $15 to $25 | joints and bases |
| Safety glasses and dust mask | $10 to $15 | every project |
Many hardware stores cut lumber to length for free or a small fee, which removes most of the sawing. Lumber yards often give away offcuts. A tool library, if your town has one, lends drills and saws for free.
What We Would Skip
Fresh green wood for anything that should stay intact.
Bare wax candles in a wooden holder.
Pallets without an HT stamp.
Thick gloss varnish on rustic pieces. It looks plastic.
Where We Would Start
Wood slice ornaments and scrap wood trees. Both need only a saw, a drill and sandpaper. For more, see DIY Christmas ornaments and upcycling ideas for reclaimed materials.
Questions We Get Asked
What tools do I need for Christmas wood crafts?
A hand saw, a drill, sandpaper, wood glue and clamps cover most projects.
How do you keep wood slices from cracking?
Use kiln-dried slices or wood that has dried for months. Fresh wood almost always cracks as it dries.
Is pallet wood safe for crafts?
Pallets stamped HT are heat treated and generally fine. Avoid those marked MB.
What finish should I use on wooden ornaments?
A wipe of wood finishing oil or beeswax polish. It’s simple and brings out the grain.
Can I put candles in a wooden holder?
Only tea lights in their metal cups, and never leave them unattended.
What wood is best for Christmas crafts?
Pine is cheap, soft and easy to cut and sand. Birch slices look good with bark on. Reclaimed boards give a weathered look but need checking for nails and treatment.