DIY Advent Calendar Ideas You Can Make Before December 1
A homemade advent calendar has one hard deadline: it has to hang on the wall by the evening of November 30. Everything else is flexible. It can hold chocolates, small gifts, notes or one activity a day. It can be made in an hour or built over several weekends.
These eight cover that range. Each one notes how long it takes, what fits inside and how it’s reused next year.
A DIY Advent Calendar Needs 24 of Something
Every calendar is the same idea: 24 small containers, numbered, in a row or a grid. The container decides what fits. Paper bags hold small gifts and treats. Envelopes hold notes and activity cards. Matchboxes hold one chocolate or a tiny object.
Decide what goes inside first, then choose the container.
1. Kraft bags on a line

Time: 45 minutes. Fits: small treats and gifts.
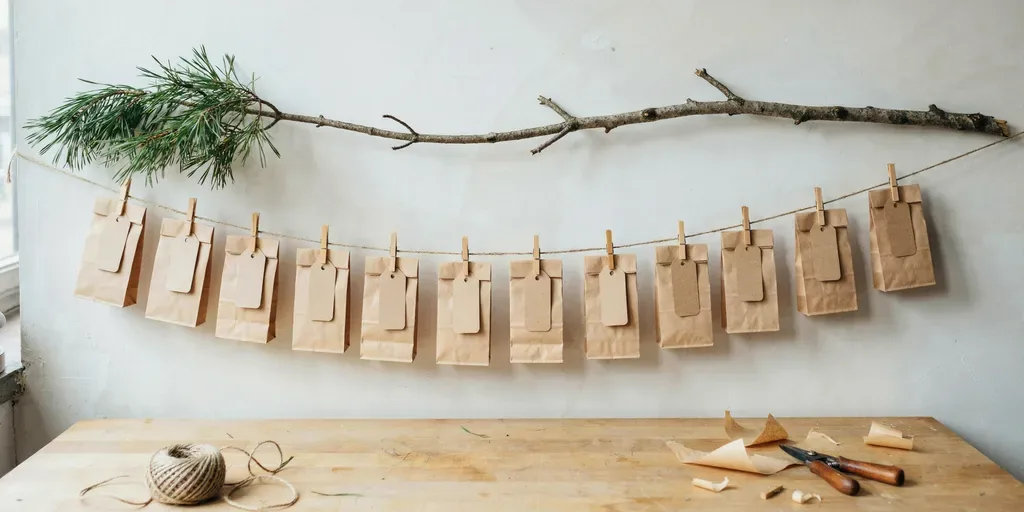
The simplest version. Fill 24 small kraft paper bags, fold over the tops, and clip each one with a wooden clothespin onto a long piece of twine. Hang it across a wall, a window or under a shelf.
Number them with a stamp set or with small tags. Bags can be flattened and reused for years.
2. Matchbox drawers

Time: 2 to 3 hours. Fits: one chocolate or a tiny object per drawer.
Empty 24 matchboxes, cover the outer sleeves in kraft or white paper, and glue them together in a block, four wide by six high. Add a small bead to the front of each drawer as a pull.
It sits on a shelf, takes little space and is satisfying to open every day.
3. Muslin bags on a branch
Time: 30 minutes. Fits: small gifts, treats, ornaments.
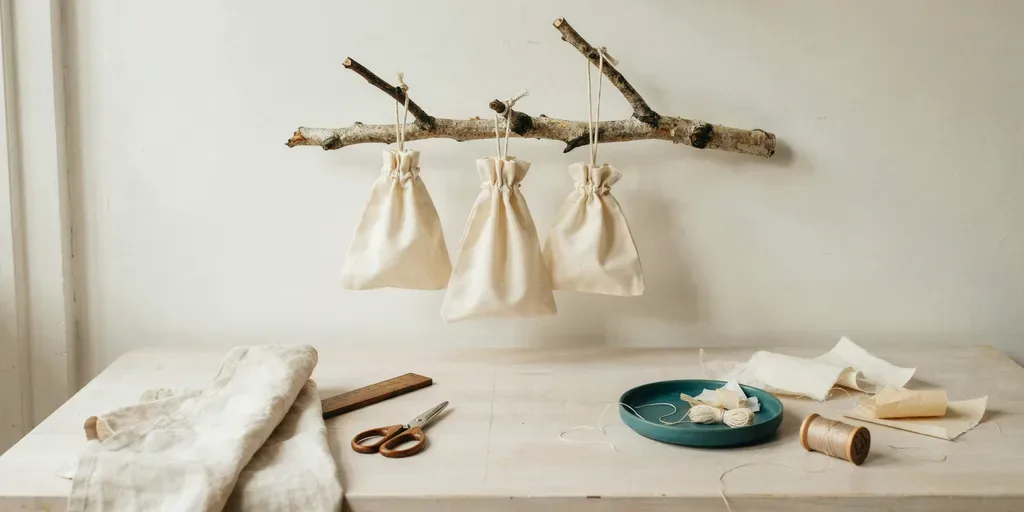
Buy 24 small cotton muslin drawstring bags, fill them, and hang them from a bare branch suspended horizontally on two hooks. Tie a number tag to each drawstring. The bags last for many years and can be washed.
4. Paper tubes in a box

Time: 1 to 2 hours. Fits: small rolled gifts, treats.
Collect 24 cardboard tubes, cut them to the same height, wrap them in brown paper and stand them upright in a shallow crate or box. Fill each, then glue a circle of tissue or kraft paper over the top. On the day, punch through the paper to open.
5. Small boxes on a tray

Time: 1 hour. Fits: a wider range of gifts.
Small gift boxes in different sizes, wrapped or left plain and tied with twine, arranged on a large tray. Mixed sizes let you put a larger gift on some days, like the weekends.
6. Envelopes in a garland

Time: 45 minutes. Fits: notes, cards, activity ideas, tickets.
Hang 24 small envelopes on twine with a wooden bead between each one. Envelopes work for flat things: a note, a recipe, a coupon for an evening out, an activity for the day.
7. Activities in a jar
Time: 30 minutes. Fits: activities.
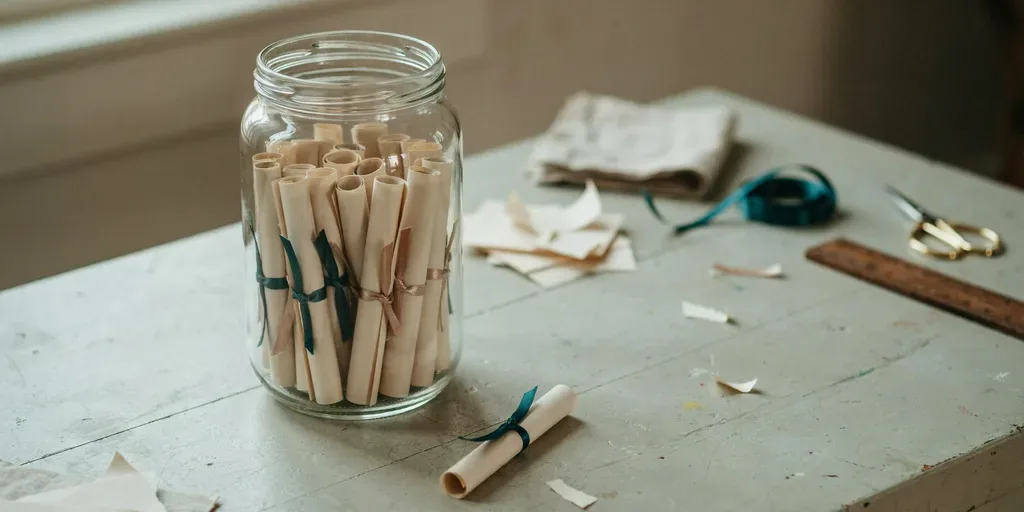
Write 24 small activities on slips of paper, roll them and tie them with thin ribbon: watch a Christmas movie, bake cookies, make a paper star, take a winter walk. Put them in a jar and pull one each morning. Keep a few that work on busy weekdays.
8. Tags left blank
Time: 20 minutes. Fits: any of the above.
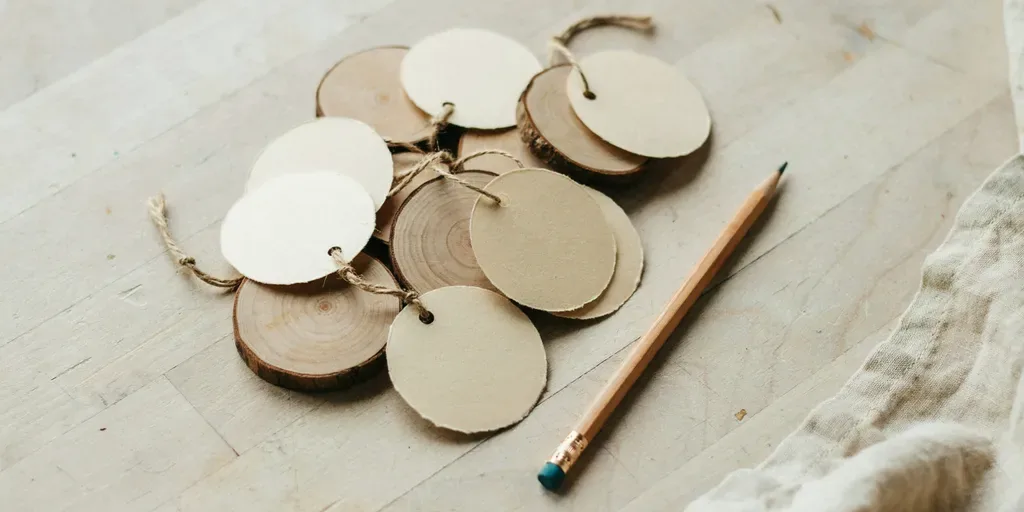
Whatever container you choose, number it last. Fill everything first, then mix up the order so big and small gifts are spread across the month. Round wooden tags can be painted or stamped; paper tags can be written by hand. A number stamp set looks neater than handwriting if you’re unsure.
24 Ideas for What Goes Inside
Filling 24 pockets is often harder than making the calendar. A mix of small treats, activities and useful things keeps it interesting:
Treats: a chocolate, a cookie, a small bag of nuts, a tea bag, a hot cocoa packet.
Small things: a pair of socks, a lip balm, a candle, a bookmark, a hair tie, a keychain, a puzzle piece toward a larger puzzle on the 24th.
Activities: watch a Christmas movie, bake cookies, make a paper snowflake, write a card to someone far away, a winter walk, decorate the tree, drive around to see lights, read a Christmas story.
Notes: a short note, a joke, a coupon for breakfast in bed or an evening without chores.
Put larger items on weekends and the most fun activity on December 24. For adults, a tea, coffee or chocolate calendar from a local shop costs far less than a ready-made one.
What We Would Skip
Starting on November 30. Most of these take longer than they seem.
Expensive fillers in every pocket. Small treats and activities work just as well.
Glue that softens in warm rooms on calendars that hang near a radiator.
Where We Would Start
Kraft bags on a line if you need it done tonight, matchbox drawers if you have a weekend. For filling it with handmade things, see our easy DIY crafts and DIY Christmas gifts.
Questions We Get Asked
What can I put in a DIY advent calendar?
Small treats, small gifts, notes, activity ideas, ornaments or a piece of a larger gift each day.
When should an advent calendar start?
On December 1, so it should be ready by November 30.
How do you make a simple advent calendar?
Fill 24 small paper bags, number them and clip them to a length of twine with wooden pegs.
How do you number an advent calendar?
With a number stamp set, painted or written tags, or stickers. Number after filling so you can mix the order.
Can you reuse a homemade advent calendar?
Yes. Muslin bags, matchbox drawers and kraft bags can all be refilled every year.
What can I put in an advent calendar for adults?
Teas, coffees, chocolates, small candles, notes, coupons for activities, or one ingredient for a recipe made on the 24th.